Adding an inventory item
Walkthrough from /inventory/new to a fully-saved piece — basic info, metal and stone, pricing, certificates, photos, and the consignment flag.
Quick reference
- Open /inventory/new from the + New Item button on the inventory page.
- Fill the form top-down — basic info, pricing, metal and stone, certificates, stock and location, consignment (only if the piece is on consignment), and finally photos.
- The Auto-categorize button uses AI to fill metal type, stone type, and category from the piece name. Verify what it picked before saving.
- If retail price is below cost, you get a confirm prompt (loss-per-unit). Cancel and fix the price, or confirm to save anyway.
- Multi-location stores must pick a specific location in the header pill before submitting — “All Locations” blocks the save and a banner explains why.
- Save lands you on the item's detail page at
/inventory/<id>. Edit anything later from Edit on that page.
Walkthrough
1. Open the new-item form
Click + New Item from the top of /inventory, or visit /inventory/new directly. The form takes the full page and scrolls; there's no modal version, by design — you have enough fields to fill that a dedicated page reads better.
If you're on a multi-location tenant and your header location pill reads All Locations, the page renders a red banner up top: “Please select a specific location before creating this record.” The Add Item button stays disabled until you switch to a specific location. Switch from the pill in the header and the banner clears in place.
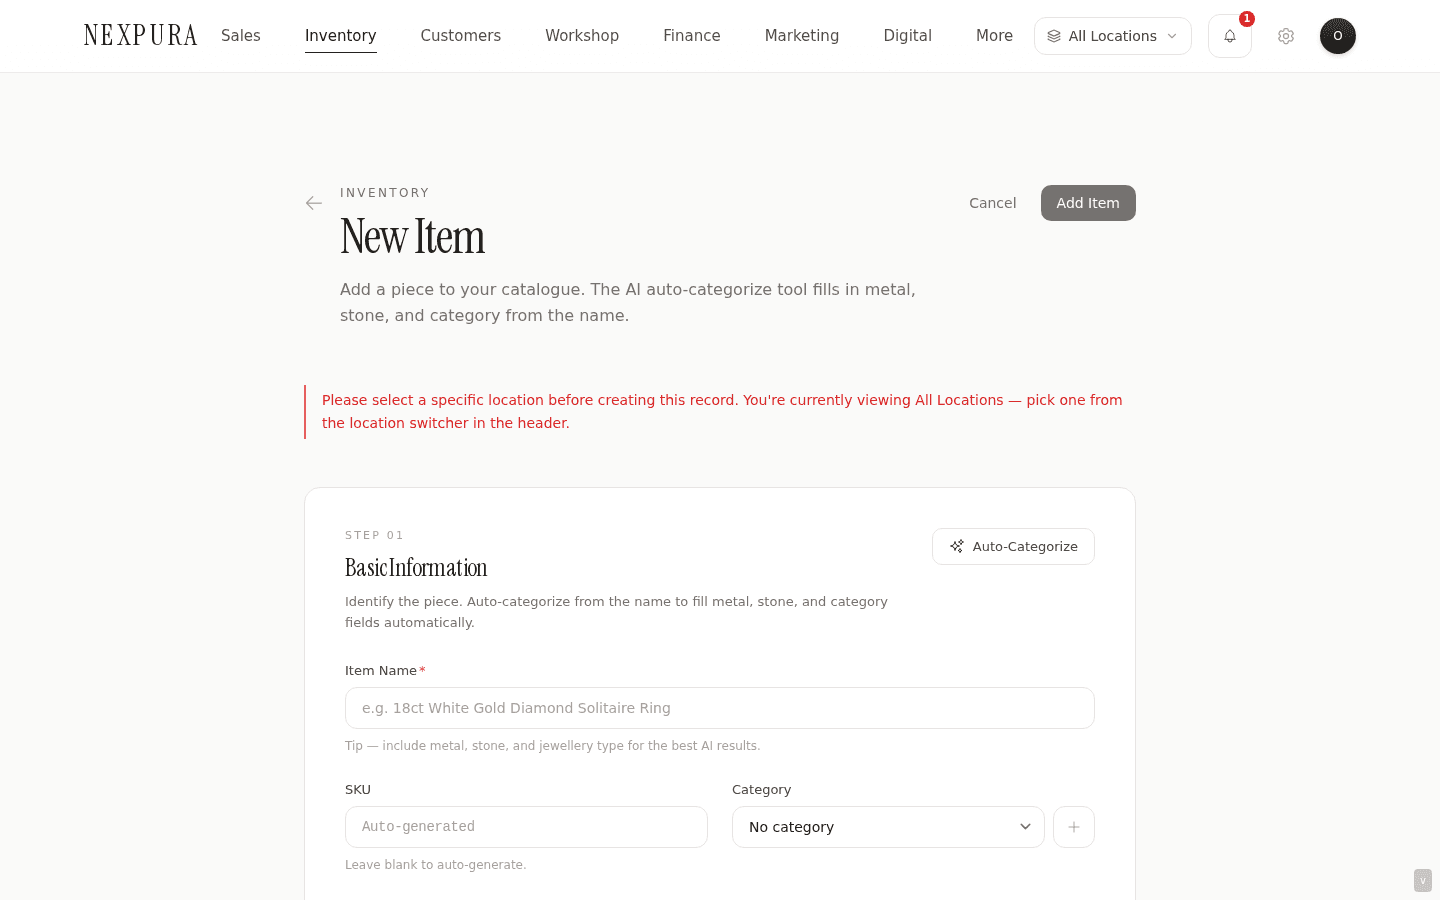
2. Step 01 — Basic info
Name first (e.g. “18ct Yellow Gold Solitaire Ring, 0.50ct Diamond”). Pick an Item type: Finished Piece, Loose Stone, Finding, Raw Material, or Packaging. Pick a Jewellery type (Ring, Necklace, Bracelet, Earring, Pendant, Bangle, Brooch, Other) — only relevant on Finished Piece.
The Category dropdown is your tenant's own categories — Engagement, Wedding, Vintage, etc. Click + New Category beside it to add one on the fly.
Tap the Auto-categorize sparkle button at the top of the section to call the AI categorisation helper — it reads the name (plus description if you've filled it) and fills metal type, metal colour, metal purity, stone type, stone colour, and stone clarity. The output lands directly in the metal and stone fields below. Check the values before saving; the AI is well-calibrated on common pieces and less so on unusual ones.

3. Step 02 — Pricing
Three fields: Cost price, Wholesale price, Retail price. Cost is what you paid (visible only to users with the view_cost_price permission). Wholesale is what you charge trade customers. Retail is what you charge walk-in customers; this is the one the POS uses by default.
If you set retail below cost, the form pops a confirm: “Retail price is below cost. You'll lose $X per unit sold. Continue anyway?” Cancel and fix the prices, or confirm if you're intentionally clearing stock at a loss.
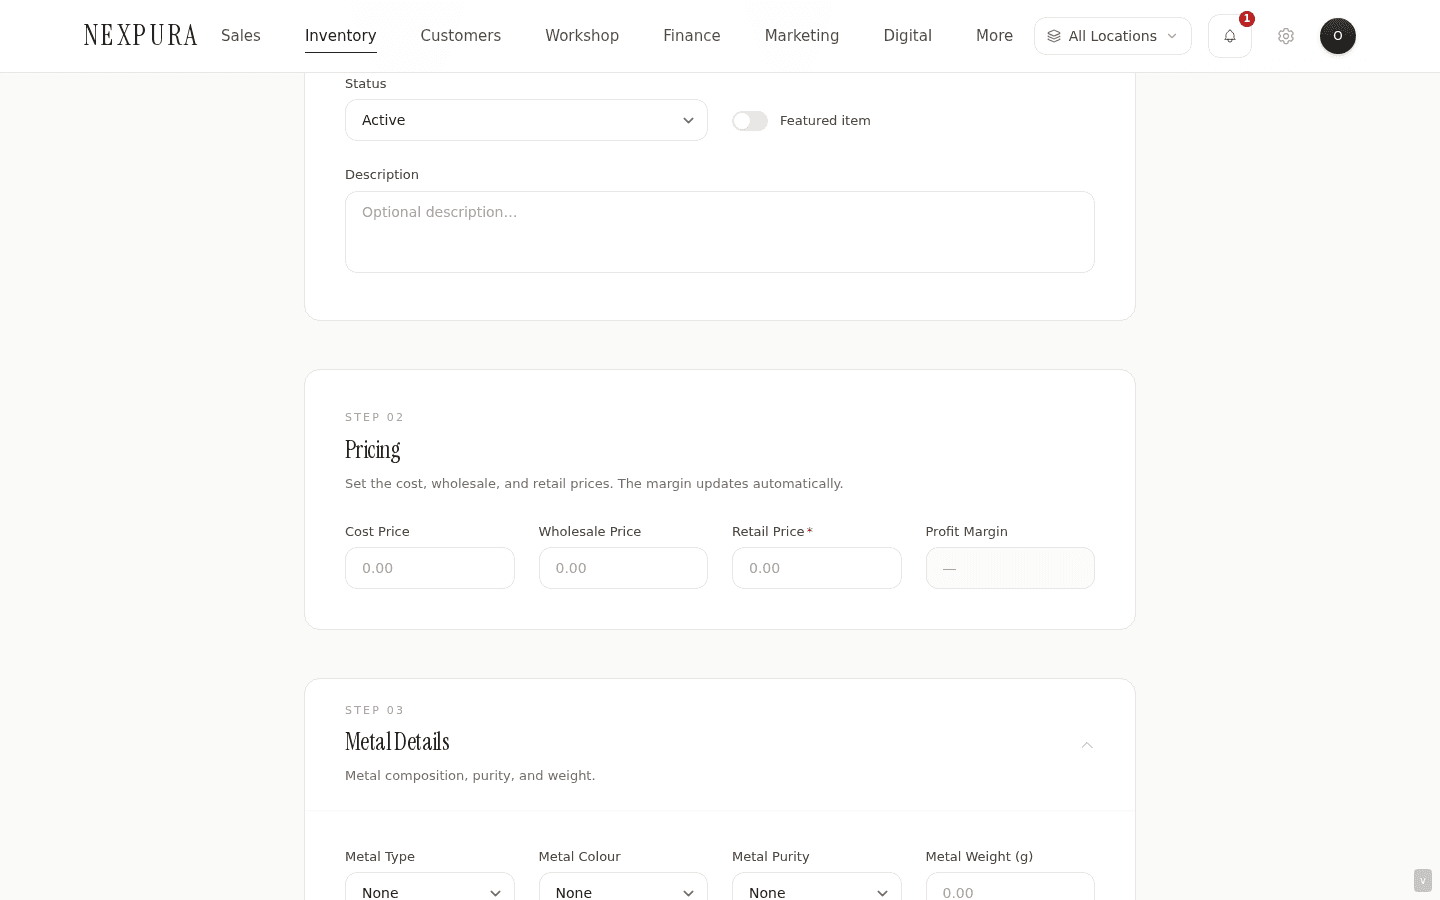
4. Step 03 — Metal & stone
Metal type (Gold, Silver, Platinum, Palladium, Titanium, Steel, Other), colour (Yellow, White, Rose, Two-tone, N/A), purity (9ct, 14ct, 18ct, 22ct, 24ct, 925, 950, 999, Other), and weight in grams. Metal form captures whether the metal is finished (a ring) or raw (a sheet, a wire) — most stores leave it default.
For stones: type (Diamond, Sapphire, Ruby, Emerald, etc.), carat, colour, clarity (FL through I3 for diamonds; the same picker applies for coloured stones, where the convention is looser). If a piece has secondary stones — pavé, halo, accent gems — click + Add secondary stone to capture each separately.

5. Step 04 — Certificates & documents
Optional. Certificate number, Grading lab (GIA, IGI, AGS, in-house, other), Grade (free text — pick whatever the cert says), and Report URL — paste the link to the lab's online verification page if it has one. None of these are required, but for certified diamonds and high-value coloured stones they're what makes the piece traceable from the price tag through to the sale.
If you have a PDF of the cert, the photos section below also accepts non-image attachments — drop the PDF in alongside the photos of the piece. The Verify Passport surface (see /docs/verify-passport/issue-passport) reads from the same fields, so anything you fill here flows straight through if you later issue a digital passport.
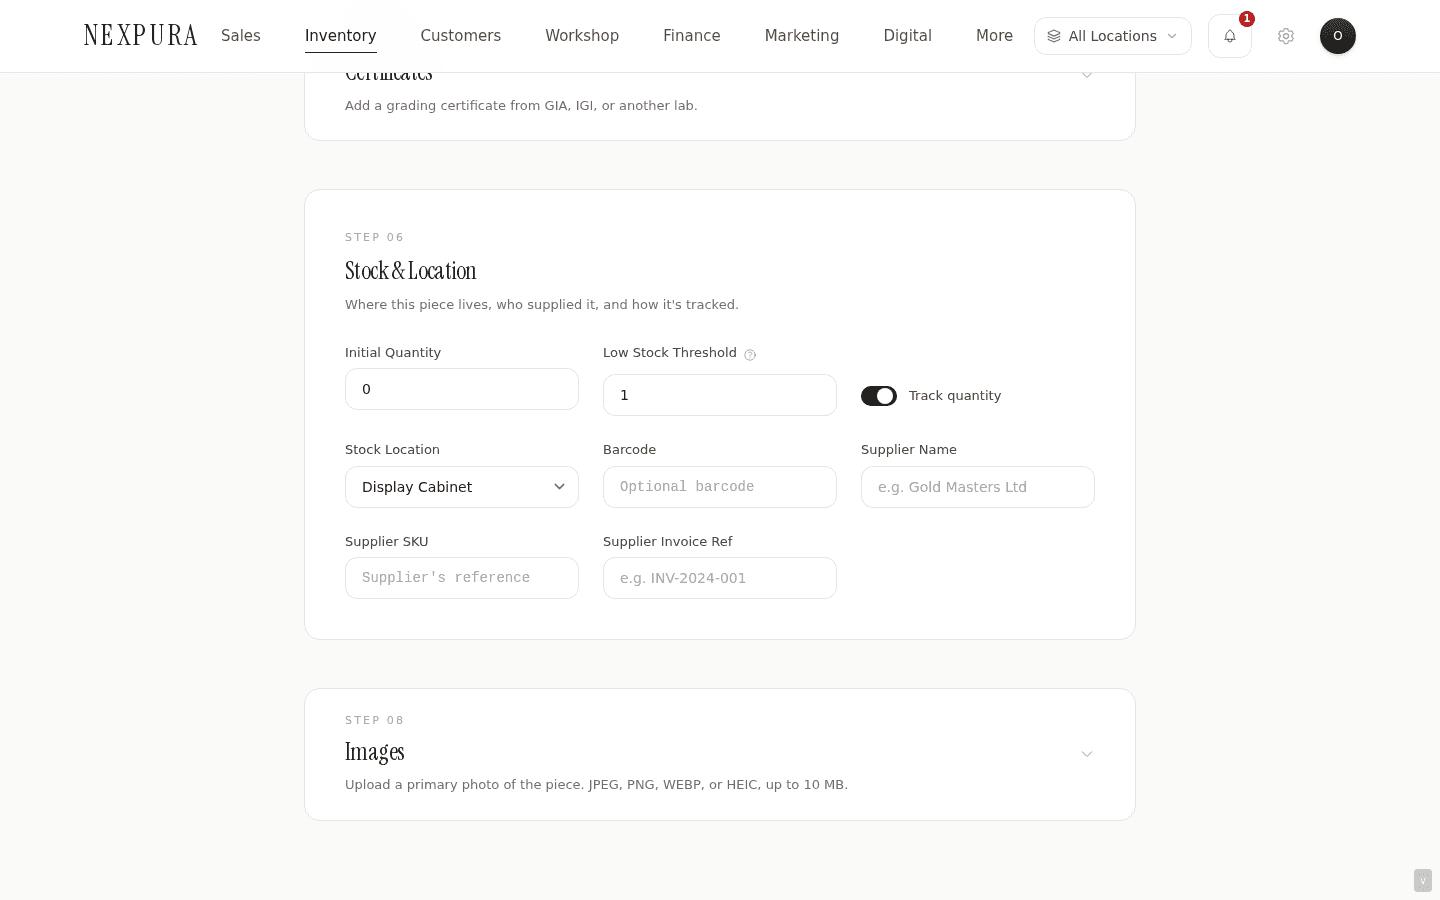
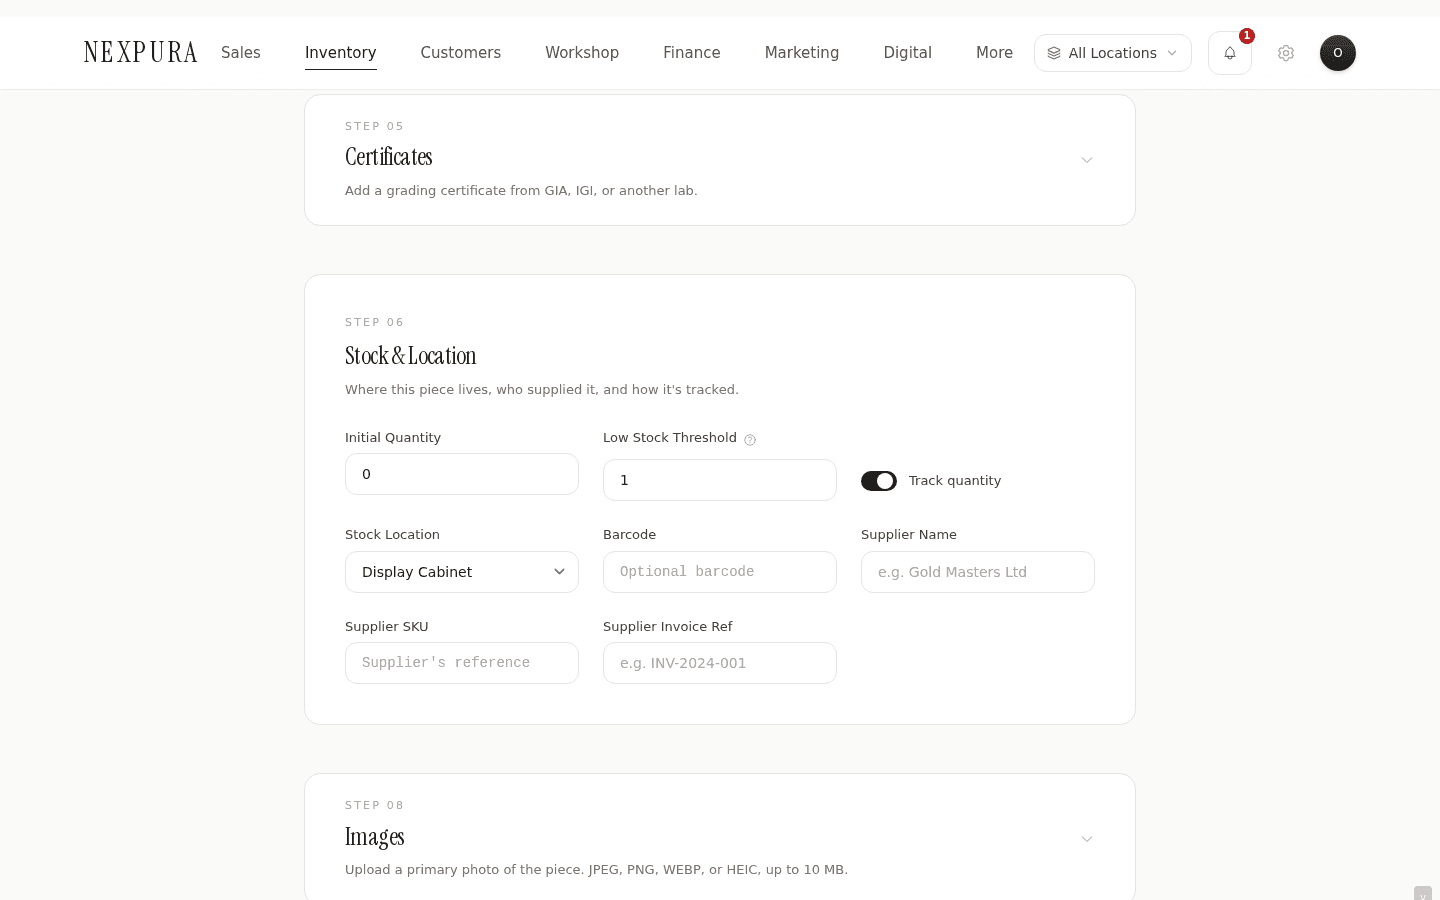
6. Step 06 — Stock & location
Initial quantity (default 0; for a finished one-of-a-kind piece set this to 1, for a finding you buy in packs of 50 set this to 50). Low-stock threshold (default 1) — when quantity drops to or below this number, the item shows in the low-stock KPI and gets a coloured pill in the list.
Track quantity toggle: on by default. Off means quantity-style accounting doesn't apply — useful for services or made-to-order items where there's no physical pack to count. See Serialized one-of-a-kind vs variant items for when to turn it off.
Stock location (display cabinet, safe, workshop, warehouse, on consignment) — this is a within-store position label, not the multi-location pin. The location pin is set automatically from the header pill. Supplier name, Supplier SKU, and Supplier invoice ref are optional traceability fields; the invoice scanner (see receive a supplier shipment) fills these automatically when you intake stock that way.
7. Step 07 — Consignment (optional)
Only relevant if the piece is on consignment from a vendor. Flip status to Consignment in step 01 and the section unlocks. Fields: Consignor name and contact (who you owe the money back to), Start and End dates of the consignment window, and Commission % — the cut you take on a sale.
When status is consignment, the item's stock number is assigned with prefix C instead of S. The full memo and consignment workflow is documented at /docs/memo-and-consignment/overview (a later batch).
8. Photos and save
Drop photos into the image-upload block at the bottom. The first photo becomes the primary image (shown on the inventory list, the POS, and your storefront if you've listed the piece on the web). You can drag photos to reorder; the leftmost is primary. The photos sit in a private storage bucket and render via signed URLs that rotate every seven days.
Click Add Item up top or at the bottom of the form. The submit button shows Saving… while the row inserts; on success you're redirected to the item's detail page at /inventory/<id>. From there you can print a tag, adjust stock, or edit any field that needs fixing.
Common questions
Do I have to fill in everything?
No. Name and retail price are the only effectively-required fields — everything else is optional. Most stores fill in the full metal/stone block and the supplier details for finished pieces, and skip most of it for findings and packaging.
How accurate is the AI auto-categorise?
Well-calibrated on common pieces — gold rings, diamond solitaires, silver chains all come back correct. Unusual combinations (lab-grown moissanite in cobalt) tend to drift. The output paints a confidence number when it returns; if it's under 70%, treat the suggestion as a starting point and verify each field before saving. The button never overrides values you've already typed.
Can I auto-generate a SKU?
Yes — leave the SKU field blank and Nexpura calls the next_sku database function on save to assign one. If you have a SKU convention (e.g. RING-18CT-SOL-0.50) that's more readable than the auto-generated string, type it in the SKU field instead.
Why does staff get blocked from creating items?
Inventory mutations are gated by the edit_inventory permission. By default, owners and managers have it; staff don't. Flip the permission on the team-member's role card at /settings/team if you want a specific staff member to be able to add stock.
Can I bulk-add multiple items at once?
For new pieces from a supplier shipment, yes — use /inventory/receive with the invoice scanner. Snap a photo of the invoice, the AI extracts each line item, and you confirm before importing. See Receiving a supplier shipment for the full flow. For migrating existing stock from another system, the CSV importer in onboarding or in settings handles it.
Troubleshooting
Submit button stays disabled
Symptom: the Add Item button is greyed out and won't respond. Cause: on a multi-location tenant, the form blocks save when your header pill is set to All Locations — the item needs a specific location to belong to. Fix:click the location pill in the header and pick a specific store. The red banner up top clears, the button enables, and you can save. If you're on a single-location tenant and the button is still disabled, check the bottom of the form for a validation error that scrolled out of view.
“Retail price is below cost” confirm I clicked through by accident
Symptom: the item saved with retail set below cost. Cause: the confirm prompt was clicked through. Fix: open the item from the inventory list, click Edit, set the right retail price, and save. No data loss — the form ran exactly as you instructed.
Photo upload fails or hangs
Symptom: the photo upload spinner spins indefinitely, or the photo never attaches. Cause:file is over the size limit (10 MB per image), or the file type isn't an image format Supabase Storage accepts (JPG, PNG, WebP, HEIC). A patchy connection can also stall the upload. Fix: resize the photo on your phone or in Preview/Photos to under 4 MB (visually no difference for the storefront), retry, and if it still fails, save the item without photos and add them from the detail page in a separate step.
Item saved but quantity is double what I set
Symptom: initial quantity was 12, but the item shows 24 in the list. Cause: this was a real bug pre-31-March, when the create path inserted the item with quantity X and then a stock-movement trigger added X again. Fixed at 20260331 — the create path resets quantity to 0 before the trigger applies the initial-stock movement. Fix:if you're seeing this on a recent install, your DB is missing the fix — contact us with the item ID and we'll verify and patch. Otherwise, correct the quantity with a Stocktake / count correction adjustment.
Related
- Inventory overview — the data model behind every item
- Serialized one-of-a-kind vs variant items — choosing how to model a piece
- Receiving a supplier shipment — the OCR scanner flow for bulk add
- Printing inventory tags — the next step after saving an item
- Adding your first location — prerequisite for multi-store tenants