Printing inventory tags
The label printer flow, what fields go on a tag, and where to configure templates and printers.
Quick reference
- Print a single tag from the item detail page at
/inventory/<id>— Print Tag button up top and again in the Actions sidebar. - Print multiple at once from the main /inventory list — tick the items, click Print Tags for the batch modal.
- Tag templates live at /settings/printing. Each template controls size (mm), orientation, and which of seven fields show: price, SKU, barcode, QR code, metal, stone, weight, and store name.
- Print uses the browser's native print dialog — the modal opens a new window with the tag rendered at the template's mm dimensions and triggers
window.print(). No driver integration — your OS picks the printer. - Tags read live from the item row — name, SKU, retail price, metal type, stone type, weight, and the generated barcode value. If a field on the item is blank, the slot on the tag is blank.
Walkthrough
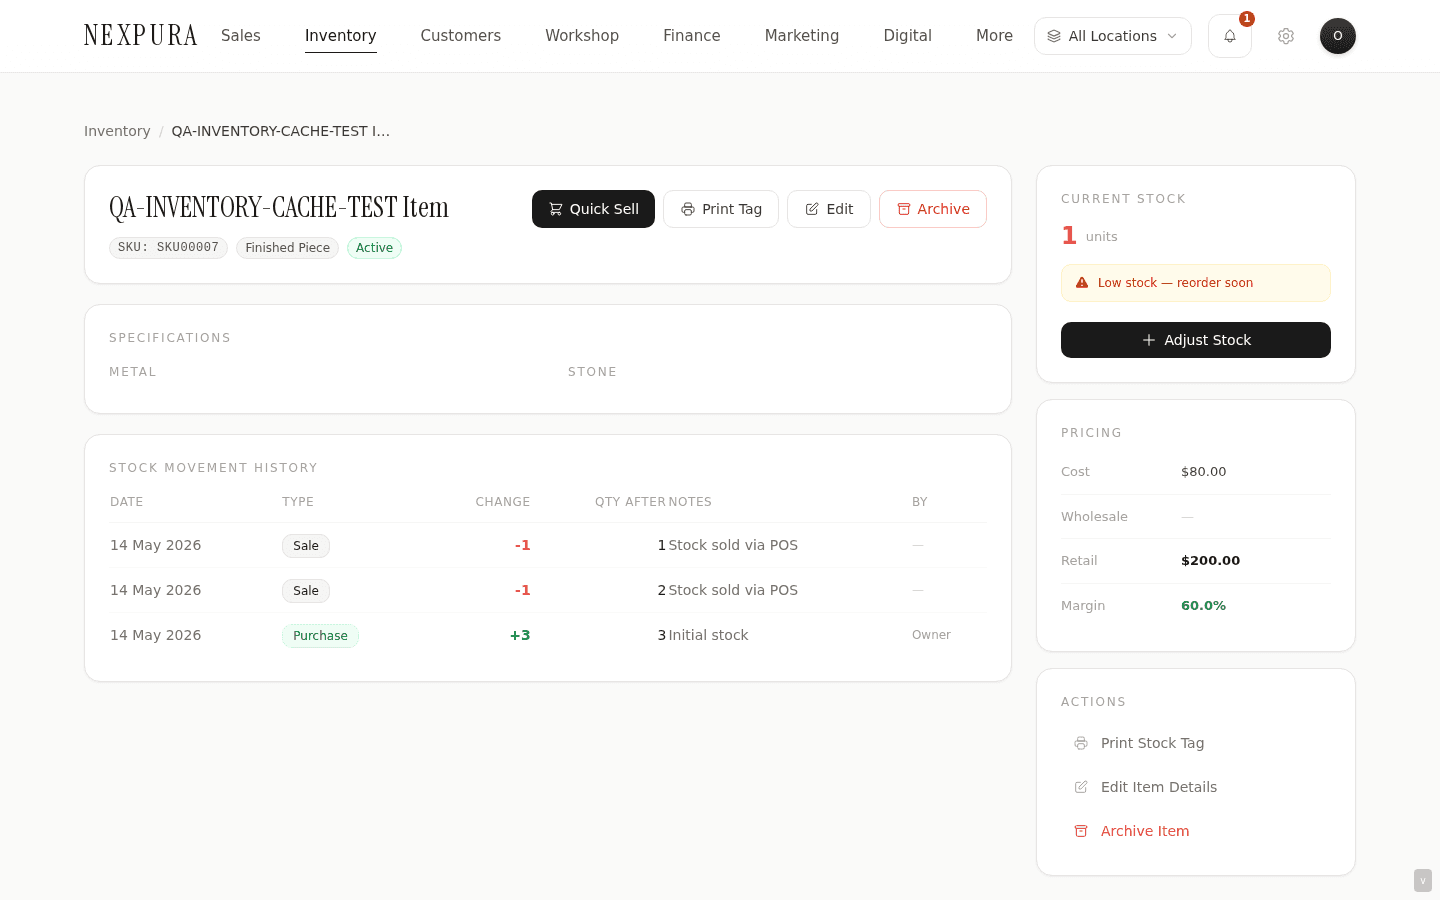
1. Open the print-tag modal for one item
From the item detail page at /inventory/<id>, click Print Tag — it's available in two places on the page: the top action row (next to Edit and Archive) and the Actions panel in the right sidebar. Either opens the same modal.
2. Pick a template
If you have multiple templates configured, the modal shows a dropdown at the top — pick the one that matches the physical tag stock you've loaded into the printer. The default template (marked when you set it in printing settings) is pre-selected.
Below the dropdown, a live preview renders the tag at its configured dimensions. The preview shows exactly what will print — the same name, SKU, price, barcode, and any optional fields (metal, stone, weight, store name) that the template enables.

3. What goes on a tag
Eight optional fields, each toggleable in the template:
- Store name — your business name, usually at the top.
- Name — the item name (always shown; size controlled by template).
- SKU — the model code.
- Price — retail price, formatted in your tenant's currency.
- Metal — metal type, e.g. “Gold, 18ct”.
- Stone — stone type, e.g. “Diamond”.
- Weight — metal weight in grams, e.g. “4.20g”.
- Barcode — a Code128-style line barcode rendered from the item's generated
barcode_valuefield. Optionally a QR code instead.
If a field is blank on the item row (e.g. you didn't enter a stone type), the slot stays blank on the tag — no fallback text. If you want the slot hidden, turn the corresponding toggle off in the template.
4. Print
Click Print — a new browser window opens with the tag at the template's exact mm dimensions and immediately triggers your browser's print dialog. From there, your OS handles the rest: pick the right printer (your label printer if it's on the network or USB-connected), confirm paper size matches the template, hit Print.
The new window closes automatically after the print dialog dismisses.
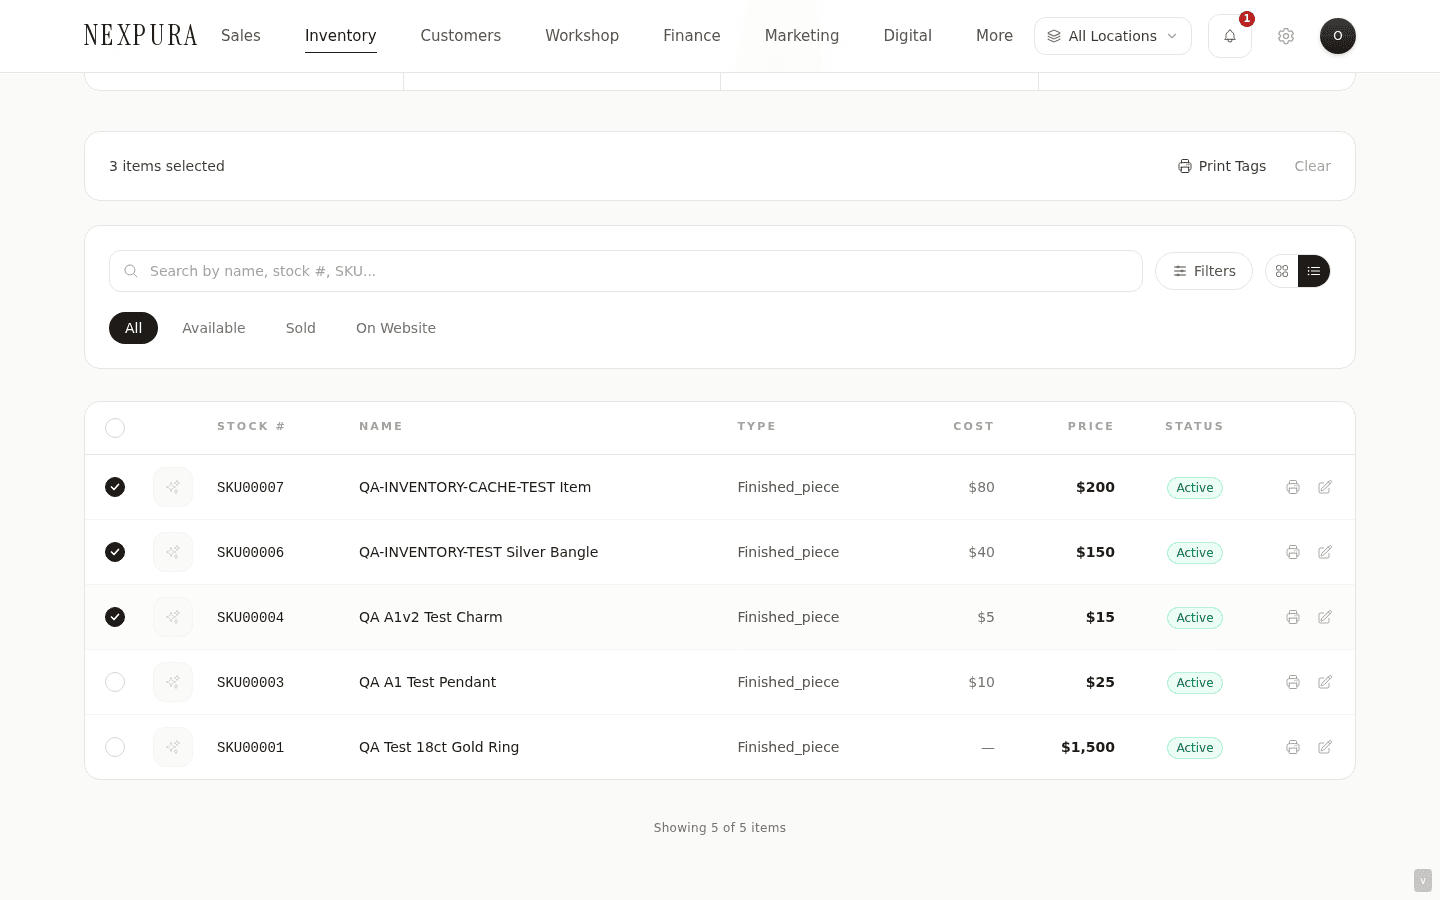
5. Batch printing from the inventory list
Open /inventory. Tick the checkboxes on each row you want tags for — the checkbox is in the leftmost column. As you tick, the count updates at the top of the page.
Click Print Tags in the top action bar. The batch modal opens — same template dropdown as the single-tag modal, but the preview shows the first tag in the batch with a strip below indicating “X tags total.” Click Print and all tags render into the print window in a single document, one tag per page break.
6. Configure templates and printers
Visit /settings/printing to manage tag templates and printer config. Each template captures: name, width and height in mm, orientation (landscape or portrait), which of the eight fields show, and font sizes for the name, the details strip, and the price.
The default template is marked with a star; that's the one that pre-selects in the print modal. You can have any number of templates — a common pattern is one for ring tags (small, portrait), one for chain tags (longer, landscape), one for hang-tags on bracelet cards.
Printer setup itself is OS-level — Nexpura prints via the browser's print pipeline, so whichever label printer your OS has installed and can print to from any other app will work here. The most common setups are Dymo LabelWriter (USB), Brother QL series (USB or networked), and Zebra ZD-series (networked).
For OS-level setup pointers and the most common printer gotchas (paper size mismatch, scaling, density), see /docs/troubleshooting-and-faq/printing (later batch).
Common questions
Can I customise the tag layout beyond what the template toggles allow?
Not from the UI today — the template controls dimensions, which fields show, and font sizes for three text classes (name, details, price). The actual layout positioning (where each field sits on the tag) is fixed by the renderer. If your store needs a bespoke layout (logo placement, custom field order, etc.), contact us — we've done one-off layout work for stores with specific brand requirements.
What if a barcode doesn't scan?
The barcode on the tag is a simplified Code128-style line barcode rendered from the item's barcode_value column. Most retail scanners read it without issue at standard print densities. If yours doesn't, the most common reasons are: print density too low (printer setting), tag stock too narrow (the bars are scaled to fit, which can crush the resolution below scannable), or the scanner only supports specific symbologies (older scanners). Try printing the same tag larger, or switch the template to QR code if your scanner supports both.
The preview looks fine but the print comes out tiny
Your OS print dialog is applying scaling. In the print dialog, set scale to 100% (not “Fit to page”) and pick the paper size that matches your tag stock. If your printer driver doesn't expose your tag size (common with Dymo LabelWriter and Brother QL), add the size manually in OS print settings before printing.
I changed the item details — do I need to reprint?
Yes if anything on the tag changed (name, price, metal, stone, weight). Tags are printed snapshots — they don't auto-update. Adjustments to quantity don't affect what's on the tag.
Can I print tags for archived items?
No. Archived items don't appear in the inventory list, and the detail page renders as a read-only archived interstitial — the Print Tag button doesn't show. If you genuinely need to reprint a tag for an archived piece, contact us and we'll restore the row so you can print, or send you the tag content if you just need the figures.
Does Nexpura support QR codes for digital passports?
The template has a QR toggle that renders a QR encoding the same barcode value as the line barcode. For digital passport QR (a different encoding pointing at the passport verification URL), that's a separate flow — issued from /docs/verify-passport/issue-passport in a later batch. The two QRs don't conflict — a piece can have both, on the tag and on the passport card respectively.
Troubleshooting
Print dialog never opens
Symptom: click Print, nothing happens. Cause: your browser blocked the new window (pop-up blocker), or a content-blocker extension intercepted the call. Fix:allow pop-ups for nexpura.com in your browser's site settings. In Chrome: lock icon → Site settings → Pop-ups → Allow. In Safari: Settings → Websites → Pop-up Windows → Allow for nexpura.com. Then retry the print.
Tag prints with wrong paper size
Symptom: the print comes out on A4 paper instead of a label, or the tag is centred on a huge sheet with margins. Cause: the print dialog defaulted to your last-used paper size, not the label. Fix:in the print dialog, change paper size to match your tag (e.g. 50mm × 25mm, Dymo Address Label, etc.) and turn scaling off (100%, not “Fit to page”). If the size isn't in the dropdown, add it as a custom size in OS print settings. On macOS: Printers & Scanners → Options & Supplies → Custom Page Sizes. On Windows: Devices & Printers → Printing Preferences → Advanced.
Barcode prints but scanner doesn't read it
Symptom: the barcode looks correct visually but the scanner just beeps without reading. Cause:usually print density — at low density the bars become indistinct and the scanner can't resolve them. Fix:in your printer driver, set density to maximum (Dymo: in preferences; Brother: print quality high). If you're already at max density and the tag is small (under 25mm wide), the bars are being scaled too tight — switch to a larger template, or move to a QR code (more tolerant of density issues).
Batch print only printed the first tag
Symptom: selected ten items, clicked Print, only the first one came out of the printer. Cause: the print dialog defaulted to printing only the first page rather than all pages. Fix: in the print dialog, set page range to All (not 1-1 or “current page”), then retry. Your browser remembers the last-used range, so if you set it once it'll stick.
Item has no tag template available
Symptom:the Print Tag modal opens with “Loading templates…” and never shows any. Cause: no tag templates exist for your tenant yet. Fix: open /settings/printing and create a template — for a typical jewellery store, start with a 50mm × 25mm portrait template showing name, SKU, price, and barcode. Save it as default; the print modal will pick it up immediately.
Related
- Inventory overview — where the fields that go on a tag come from
- Adding an inventory item — filling the fields that will end up on the tag
- Serialized vs variant — affects how you name and SKU pieces, which affects what the tag reads
- Locations and multi-store setup — per-location printer config
- Printing FAQ — driver and OS-level gotchas