Issuing a passport
Attach a digital provenance passport to a piece — at point of sale or retroactively for an older piece — and hand the customer the UID that lets them (and any future buyer) verify the piece on Nexpura's public /verify surface.
Quick reference
- Issue a passport from /passports/new — title, jewellery type, optional metal / stone / ring specifications, provenance, owner, visibility. The piece doesn't need an inventory record first; a passport describes the piece on its own terms.
- Every new passport gets two identifiers: a UUID v4 public_uid for the customer-facing /verify/[uid] route, and a global numeric identity number (starting at 100000001, shared across the whole platform) shown on the jeweller-side detail page and the printed certificate.
- Passports issue with visibility set to public by default — the QR code and /verify/[uid] URL resolve immediately. Flip the visibility toggle on the passport detail page to keep a passport private (still in your tenant, hidden from the public lookup).
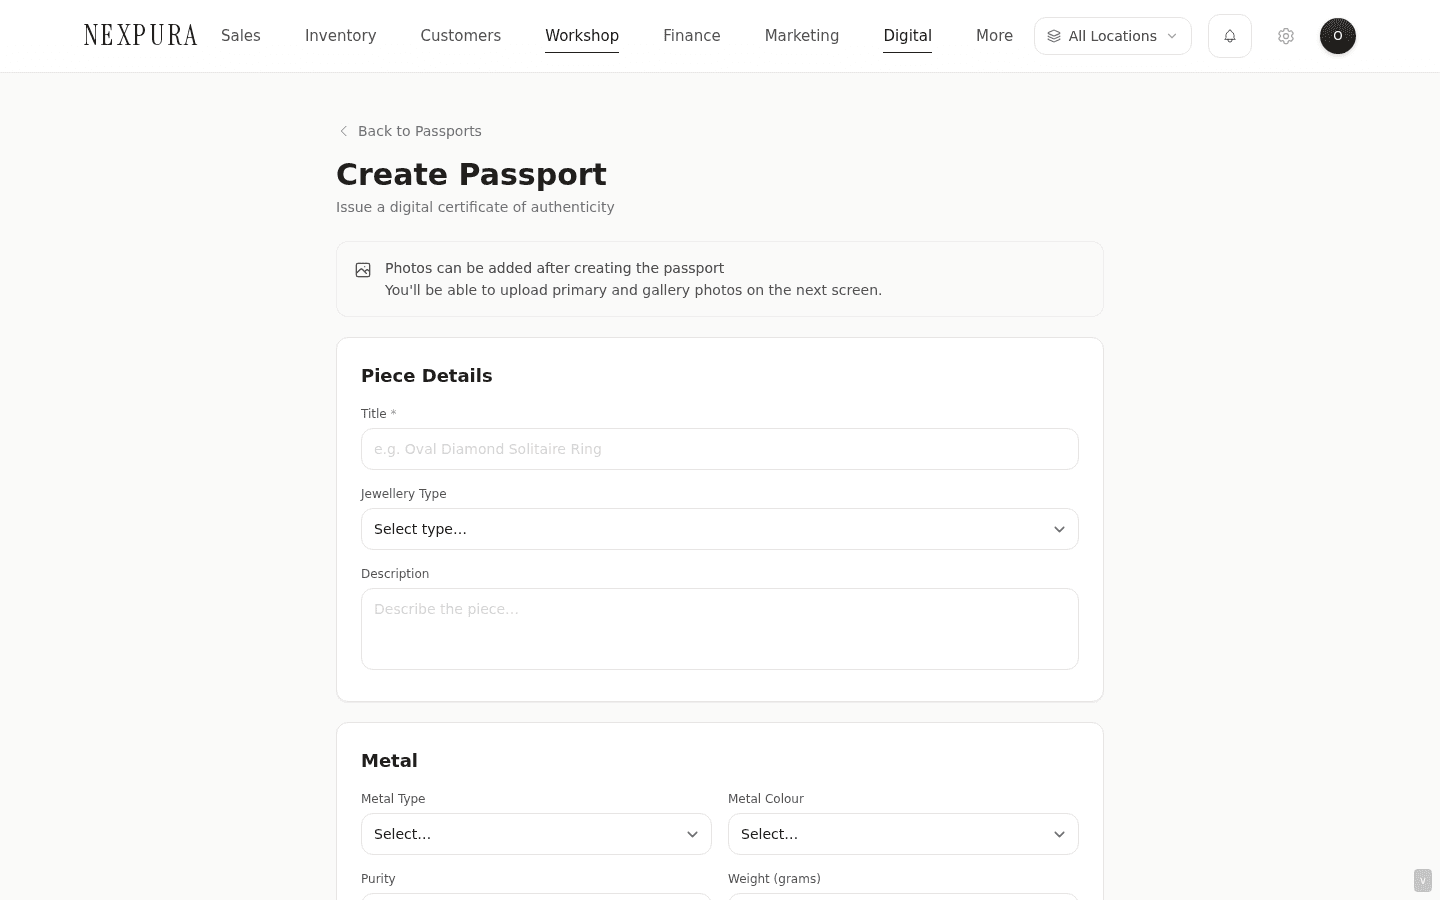
- Photos are added on the detail page after the passport is saved — a primary image plus a gallery. The creation form collects everything except photos in one step.
- If you set current_owner_email at issuance, the owner receives a passport email automatically; you can resend it later from the detail page. If you didn't set an email, the customer can still reach the passport via QR sticker, printed certificate, or the receipt link.
Walkthrough
1. Open the new-passport form
From /passports tap Create Passport in the top right. The form at /passports/new is a single page split into sections: Piece Details, Metal, Stone (collapsible), Ring (auto-expands when jewellery_type is set to ring), Provenance, Ownership, Visibility. Most fields are optional — the only required input is the title.
2. Fill the piece details
The title is the customer-facing description that renders across the passport card, the printed certificate, and the aftercare email — “Oval Diamond Solitaire Ring” or “Vintage Sapphire Pendant 1962” rather than a SKU. Jewellery type drives which subsections matter (the Ring section auto-expands for rings; you can still open Stone manually on any type). The description field is free text — useful for the heritage of the piece or any wording you want to surface on the certificate.
3. Record the specifications
The Metal, Stone, and Ring cards mirror the vocabulary the customer-facing card renders — metal type / colour / purity / weight; stone type / shape / carat / colour / clarity / origin / certificate number; ring size / setting style. Fill in what you can verify; leave the rest blank. Empty fields don't render on the public passport card, so a sparse passport reads cleanly rather than as a page of missing labels.
The certificate number field is the place to reference an external grading report (e.g. GIA 1234567890) when one exists. Nexpura's passport doesn't replace gem-lab certification — it records the report you've already obtained so the customer (and any future buyer) can cross-reference.
4. Provenance and ownership
Provenance fields — maker / designer, made-in country (defaults to Australia, editable), year made — appear on the customer-facing card under their own subhead. These are the historical attribution fields that matter most for resale-grade pieces and heritage stock.
The Ownership block records the current owner of the piece — full name, email, purchase date, purchase price. Setting an email here triggers the passport email automatically once you save. You can leave the block blank if the piece hasn't sold yet (for inventory you want passport-ready before it leaves the case) and fill it in later from Edit Passport or via the transfer-ownership action documented on Transferring passport ownership.
5. Visibility — public or private
The visibility toggle defaults to public. Public means the QR-code URL and the /verify/[uid] lookup resolve immediately — anyone with the UID can read the public-facing passport card. Private keeps the passport inside your tenant; the public surface returns a branded-not-found card for the UID until you flip it back to public. Most retail passports stay public; private is for drafts, internal-only records, or passports temporarily taken off the public surface during a dispute or investigation.
6. Save — the system mints two identifiers
On save, Nexpura mints two identifiers for the passport:
- A UUID v4 public_uid — 122 bits of entropy, unenumerable, the canonical identifier for the public /verify/[uid] route. New QR codes encode this form. Customers see the UUID in the URL when they verify.
- A global numeric identity number — starts at 100000001, shared across the whole platform (not just your tenant). Shown on the jeweller-side detail page and on the printed certificate as the human-friendly reference, and still accepted as a lookup on /verify for legacy compatibility. Passports issued before mid-2026 used this number as the primary identifier; new passports use the UUID for the public route but the numeric one is still printed for at-a-glance recognition.
Older Nexpura passports may also carry an NXP-XXXXXX short-form identifier; that's legacy and not minted for new passports. All three forms resolve to the same passport on /verify today — the legacy formats are scheduled to sunset 2026-08-05.
7. Add photos on the detail page
After save, the form redirects to the passport detail page at /passports/[id]. The Photos card sits beneath the specifications — upload a primary image (renders large on the public card) plus a gallery of up to a handful of additional shots. The primary image is what the customer sees first when they land on /verify/[uid].
8. Hand the customer the UID
The detail page surfaces every channel the customer can arrive on the passport through:
- QR code. The right-hand QR Code card renders the printable QR for the piece. Download as PNG, print on a sticker (we use the trailing portion of the certificate or a hangtag), and the customer scans straight into the passport card.
- Printed certificate. The Download Certificate action generates a PDF with your business name, ABN, address, the piece details, and the verification block. Hand it with the piece at sale.
- Passport email. If you set an owner email, an email goes out automatically on creation with the passport link. If you set the email later or the customer asks for it again, use the Send Passport Email button on the detail page. (Channel: email — passport emails go via the email channel specifically; SMS / WhatsApp aren't wired for passport delivery.)
- View Public Page. The View Public Page link beneath the QR opens the customer-facing passport in a new tab so you can sanity- check what the customer will see before you hand the piece over.
![/passports/[id] detail page — left column with specifications + event timeline, right column with QR Code card (download + view public page buttons), Public Visibility toggle, Actions card with Download Certificate / Add Event / Transfer Ownership / Send Passport Email.](/_next/image?url=%2Fdocs%2Fscreenshots%2Fverify-passport%2Fissue-passport%2F02-passport-detail.png&w=3840&q=75&dpl=dpl_DReA1zQHzQAmETP9QJhFMXEZeR8q)
9. Issuing retroactively for a piece sold years ago
A customer brings in a piece you sold before you ran Nexpura — they want a passport for resale or insurance. The flow is the same /passports/new form; you fill in everything you can reconstruct from your records (the take-in slip, the original receipt, a valuation), set the purchase date in the past, and save. The passport mints fresh identifiers regardless of when the piece itself was sold. The customer ends up with a passport card and a certificate as if the passport had always existed.
One thing the system doesn't do: there's no back-dated “issued” timestamp. The event timeline records the actual issuance date — the day you created the passport — rather than the original sale date. The original sale date lives in the purchase_date field on the Ownership block. If you want the public card to read the original sale date as the historical reference, set purchase_date correctly on creation; the card surfaces it under Ownership alongside the purchase price.
Common questions
Why are the new passport UIDs UUIDs rather than short numeric codes? Could they be friendlier to type?
The current public_uid form is a UUID v4 — 122 bits of entropy, around 5 sextillion possible values, completely unenumerable. Two non-obvious reasons sit underneath the choice. First, security: the public /verify/[uid] route is by design login-less, so anyone with the UID can read the passport. A short numeric code (six or seven digits) would be enumerable from a single IP in minutes — every valid passport in the system would be scrapable. The UUID makes the namespace search-resistant; even with the per-IP rate limit backing it up as a second line of defence, the namespace itself has to be unenumerable. Second, resale-readiness: passports live for the life of the piece, often decades, and the UID is what a future buyer types in to verify a piece they're thinking about buying second-hand. A code that's guess-resistant against the whole platform stays meaningful as the platform grows — a short numeric form would have to be migrated as soon as the keyspace got dense. The QR-code path and the email link mean the customer almost never has to type the UID manually; the numeric identity number printed on the certificate is the readable fallback for the rare case where they do.
Does the piece need to exist in inventory before I can issue a passport for it?
No. Passports are a standalone record — title, specifications, provenance, owner — and don't require a corresponding row in inventory. That keeps the workflow flexible: you can issue a passport for a custom piece you made one-off, an estate piece you took on consignment, a vintage piece you sold years ago that's coming back through, or a piece you never stocked but did the appraisal on. If the piece is in inventory, the passport simply complements the stock record — both records coexist without one being the parent of the other.
What does the customer-facing passport actually show?
The customer-facing card is a dedicated page — its fields, layout, what does and doesn't render, the not-found behaviour, and the timezone handling are all walked through on Verify Passport — what your customer sees. The short version: Verified Authentic badge, UID, piece title and image, structured specifications grouped by metal / stone / ring, provenance, current ownership if recorded, and the full event timeline. Private fields from your customer record (full address, phone, internal notes) never leak through.
The passport email didn't fire on creation — why?
The passport email goes out only when an current_owner_email is set at issuance and the email channel is configured for your tenant. If you left the owner email blank, no email is sent — that's by design (the passport might be for stock not yet sold, or for an internal record). Set the owner email on the passport later and use the Send Passport Email action on the detail page to send it manually.
Is there a way to issue a passport during the POS sale itself rather than as a separate step?
Not yet. The current flow is two steps: ring up the sale through the POS, then create the passport from /passports/new with the customer record attached. A combined sell-and-issue flow is on the backlog. For now the two-step pattern keeps the sale and the passport as clean separate records, which is also what the audit trail and accounting want.
Troubleshooting
Save returns “Failed to create passport”
Symptom: form submission fails with a generic save error and you stay on /passports/new. Cause:most commonly the title field is empty (only required field — easy to miss if you tabbed through quickly). Less commonly: a transient database issue, or the passport identity-number sequence couldn't allocate. Fix: confirm the title field has a non-blank value and resubmit. If the error persists, refresh the page and try once more — the identity-number sequence is per-platform, not per-tenant, so a brief retry usually resolves a transient allocation issue.
Save succeeds but the event timeline shows no “Created” entry
Symptom: the passport saved and the detail page loads, but the Event Timeline card is empty. Cause:the save action surfaces an error if the provenance-log entry (the “Created” event row) fails to write — so if you reached the detail page without seeing an error, the row was logged. If the timeline looks empty, refresh the detail page; the events query is server-rendered and a stale browser cache will read empty briefly while the row was still committing. Fix:hard- refresh (Cmd+Shift+R). If the timeline is still empty after a refresh, contact support — that's an audit-trail integrity issue worth investigating against the database directly.
Customer says the QR code on the certificate doesn't lead to the passport
Symptom: the customer scans the QR, lands on the verify route, sees the branded not-found card. Cause:most commonly the passport visibility is set to private (the public lookup returns not-found for private passports by design — so scraping can't distinguish “hidden” from “doesn't exist”). Less commonly, the QR was printed against an older identifier shape that doesn't match the current row, or the QR resolution is too low to scan cleanly. Fix: open the passport at /passports, check the Public Visibility toggle on the right rail — flip back to public if it's off. Re-download the QR from the detail page and reprint at higher resolution if the original was blurry.
Passport certificate PDF doesn't download
Symptom: tapping Download Certificate returns a 404 or a 429 rate-limit message. Cause:a 404 usually means the passport row was soft-deleted between the page load and the PDF request — refresh the detail page and confirm the passport is still active. A 429 means you've hit the per-IP PDF rate limit (the certificate endpoint is throttled to defend against automated scraping); wait a minute and retry. Fix:refresh for 404s; wait and retry for 429s. If the 404 persists on a passport that's clearly visible in the list, the tenant scoping check is rejecting — confirm you're logged in to the tenant that owns the passport.
Related
- Verify Passport — what your customer sees at /verify/[uid] after you issue the passport
- Transferring passport ownership — what to do when a piece resells
- Passport management — browsing, editing, recording events, controlling visibility
- Processing a sale — the POS flow that pairs with passport issuance at point of sale