Transferring inventory between locations
Create a transfer, pick the items, mark in-transit at the source, receive at the destination — with a movement ledger entry at each step.
Quick reference
- Transfers live at /inventory/transfers. One list view, four status filters, one New Transfer modal.
- State machine: Pending (created, items reserved) → In Transit (dispatched from source location) → Completed (received at destination). A pending or in-transit transfer can be cancelled by owner/manager.
- Only owners and managers can cancel. Anyone with
edit_inventorycan create. Dispatching requires location access to the source; receiving requires location access to the destination. - Partial receive is supported — type a lower received-quantity on each line; the difference shows as variance on the transfer record.
- Stock decrements at dispatch (source goes down) and increments at receive (destination goes up). In transit the units belong to neither side's sellable stock.
Walkthrough
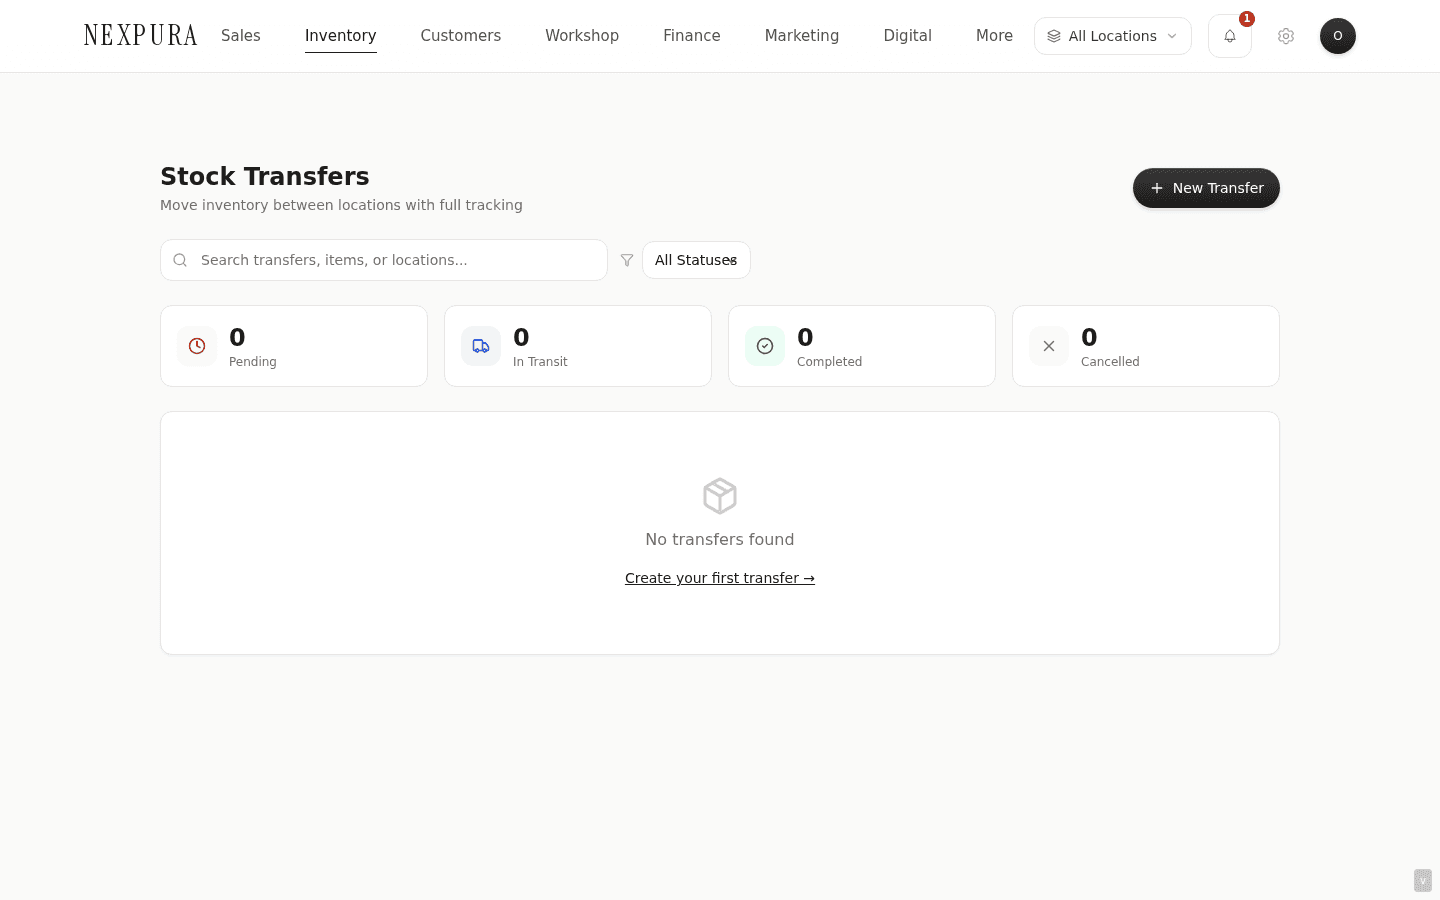
1. Open the transfers page
Visit /inventory/transfers — the list shows every transfer scoped to locations you can access (owners and managers see all; staff with restricted access see only transfers where their location is either source or destination).
The top bar has search, a status filter, and four status chips (Pending, In Transit, Completed, Cancelled) showing the count in each state. Click a chip to filter; click again to clear.
2. Create a new transfer
Click New Transfer top-right. The modal opens with source-location and destination-location dropdowns at the top — pick both; the two cannot be the same (the form blocks submit with “Source and destination cannot be the same.”). Only locations you have access to appear in the dropdowns.
The item picker below pulls from your active inventory filtered to the source location, with quantity >0 — you can only transfer what's actually there. Search by SKU or name, click to add. Each added line gets a quantity input; default 1.
Notes at the bottom is free text — reason for the transfer, courier reference, who's carrying it. Optional but worth filling.

3. Submit — transfer enters Pending
Click Create Transfer in the modal. The transfer enters Pending state. The items aren't physically moved yet — the source row still has its full quantity, but the transfer record reserves the units against eventual dispatch. Nothing is written to stock_movements at this step.
4. Dispatch — moves to In Transit
From the source location (or as an owner/manager from anywhere), open the transfer in the list and click Dispatch. This is the moment the source location physically hands over the parcel.
The action writes a transfer_out movement for each line against the source inventory row — the quantity drops by the dispatch quantity. The transfer status flips to In Transit with dispatched_at stamped and dispatched_by set to the operator's user ID.
The destination location does not yet show the units — they're in transit, belonging to neither side's sellable stock.
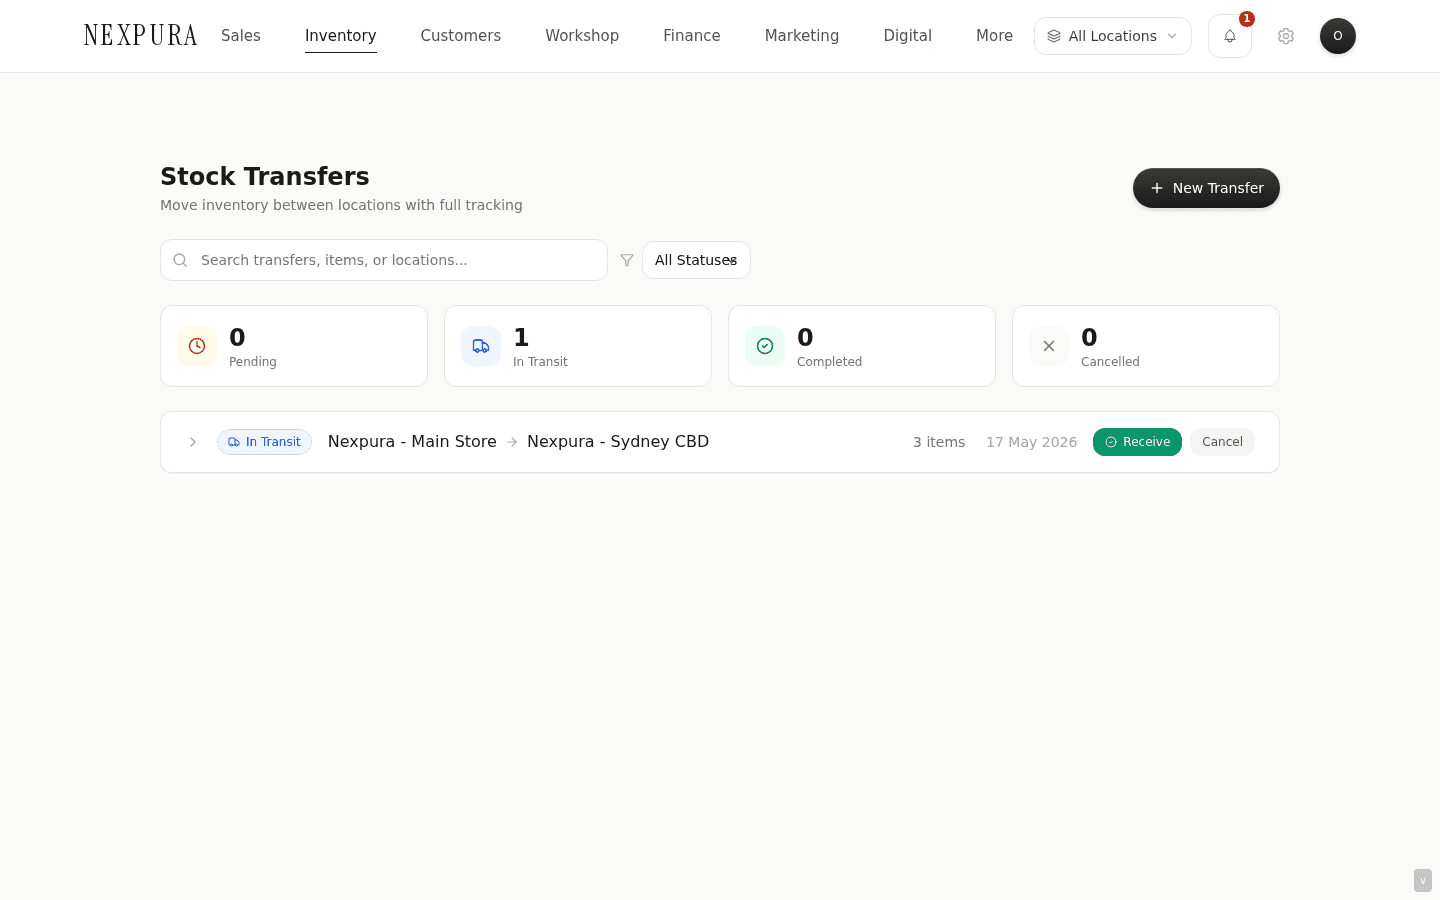
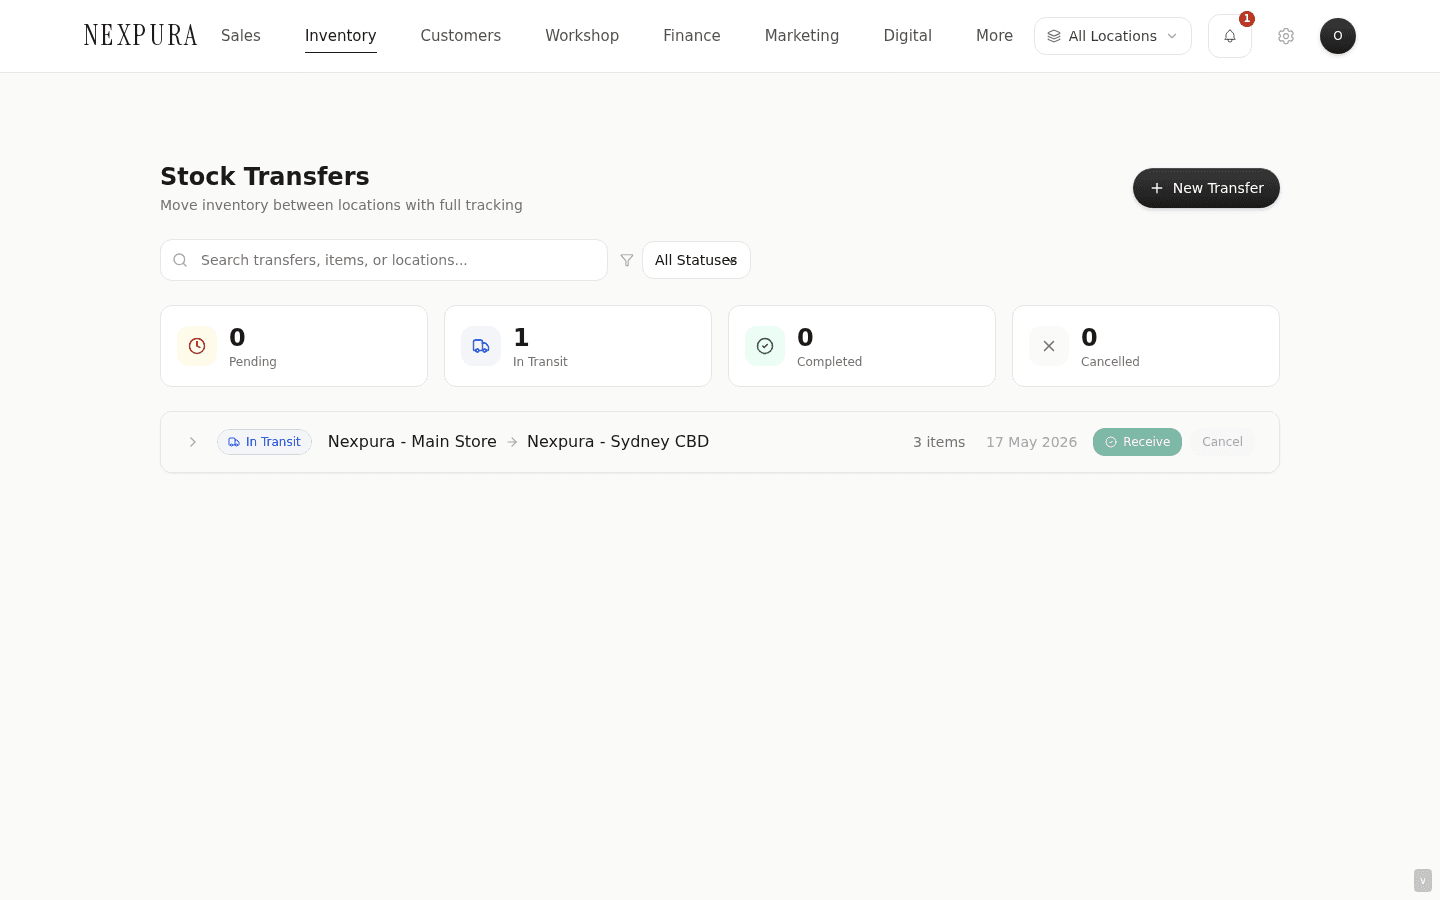
5. Receive — moves to Completed
When the parcel arrives at the destination, an operator with access to that location clicks Receive on the in-transit transfer. The action prompts a confirmation of received quantities — defaulted to the dispatched quantities. If something didn't arrive (or arrived broken), type the actual received quantity instead.
On submit, the API writes a transfer_in movement for each line against the destination inventory row, creating a new row at the destination location if one doesn't already exist for that SKU. The transfer record stamps received_at and received_by, then flips status to Completed.
A status guard on the API prevents double-receive — if two operators click Receive at the same time, only the first goes through; the second sees “Transfer already received or not in transit.”
6. Handling partial receive
If you receive less than was dispatched (e.g. 4 of 5 arrived, one was missing), type the received quantity on that line. The API writes the smaller transfer_in movement against the destination, stamps the line's received_quantity so the variance is visible on the transfer record, and still flips the status to Completed.
What happens to the missing 1? The source already decremented by 5 at dispatch; only 4 landed at the destination. That's a real loss of 1 unit — open the source inventory row and run a Theft / loss adjustment with reason Other and a note linking the transfer ID, or reconcile against the courier's insurance if you have tracked-shipment cover. The transfer record itself is honest about what shipped and what arrived; it doesn't silently true-up the units.
7. Cancelling a transfer
A transfer in Pending or In Transit can be cancelled by owner/manager. Click the cancel button on the transfer's detail strip. Confirm the prompt.
On a Pending transfer, cancel is a no-op for inventory — no movements ran. The transfer record stays for audit, status flipped to Cancelled.
On an In Transit transfer, cancel does NOT auto-return the dispatched units to the source. The source already decremented when dispatch ran; cancelling the in-flight transfer leaves those units in limbo. If the courier is bringing the parcel back to source, run an adjustment on the source row Add Stock with reason Other and a note referencing the cancelled transfer ID. If the parcel is genuinely lost, run a Theft / loss adjustment on the source row. The cancel just stops the receive flow — it doesn't unwind the dispatch movements.
Screenshot pending
Cancel confirmation modal showing the transfer ID and a warning that cancellation does not auto-return in-transit units.
Common questions
Who can dispatch and receive?
Dispatch requires access to the source location. Receive requires access to the destination location. Owners and managers have access to every location by default; staff are scoped to their allowed_location_ids. Creating a transfer requires the edit_inventory permission. Cancelling is owner/manager only.
Can I transfer to a location I'm not staffed at?
You can create a transfer to a destination you don't have access to, but you won't be able to receive it — someone with access to the destination needs to do that. A common pattern: a manager creates the transfer from the admin view, the source staff dispatch it, the destination staff receive it.
What if the destination location doesn't have a row for the SKU yet?
The receive flow creates one. When it writes the transfer_in movement, it first looks up an existing inventory row at the destination location matching the source row's SKU. If none exists, it creates a fresh row at the destination with the same name and pricing, quantity 0, then the trigger bumps it up. End state: one row per SKU per location, as expected.
Why is dispatch its own step? Why not just transfer in one click?
Because the physical movement happens in two distinct moments — the source hands over, then the destination receives — usually hours or days apart. Modelling that as two states matches reality and keeps the source's available-to-sell number honest in the meantime. If you try to sell a piece that's in transit, the source row already shows it gone, so the POS won't let you. If you wait for “all in one”, you'd be selling units that have already physically left the building.
Can I dispatch a partial quantity?
The dispatch action sends the full quantities specified at creation. If you only want to send some, cancel the transfer before dispatch and create a new one with the smaller quantities. (Partial-dispatch is on the backlog; for now the cancel-and-recreate pattern is the way.)
How does this interact with sales reports?
Transfers show as Transfer out and Transfer in movement types in each location's movement ledger. They're excluded from sales totals in finance reports (they're not revenue), but they affect on-hand stock value at each location for your end-of-month reconciliation.
Troubleshooting
“You don't have access to receive at this location”
Symptom: the receive action errors out with this message. Cause: your user account is restricted to specific allowed_location_ids that don't include the transfer's destination. Fix: ask an owner/manager to broaden your location access at /settings/team, or have a colleague with the access perform the receive. The API runs a rollback if the permission check fails mid-action, so no half-finished transfer is left behind.
“Transfer already received or not in transit”
Symptom: clicking Receive errors with this message even though the transfer looks in-transit. Cause: someone else already completed the receive (or the status guard fired because the page state was stale). Fix: hard-refresh the transfers page (Cmd/Ctrl-Shift-R) — the transfer should now show Completed. If you're sure nobody else received it, the row may be stuck in a half-state from an earlier failed receive — contact us with the transfer ID.
Source quantity didn't drop after dispatch
Symptom: transfer status flipped to In Transit but the source inventory row still shows the old quantity. Cause:caching — the inventory list and detail pages cache per-tenant; the dispatch action invalidates the cache but a page that hasn't been re-navigated to may still show the snapshot. Fix: hard-reload the inventory page (Cmd/Ctrl-Shift-R). If the quantity is still wrong after a reload, open the Stock Movement History on the source item — if the transfer_out row is there but the quantity didn't drop, that's a data inconsistency — contact us with the item ID.
In-transit transfer needs to be redirected to a different destination
Symptom: the parcel was meant for store A but circumstances changed and it should go to store B. Cause:the transfer's destination is fixed at creation; it can't be edited mid-flight. Fix:let the parcel arrive at store A, receive it there, then create a fresh transfer from store A to store B. The two transfers read cleanly on each location's movement ledger and the audit trail is honest. Cancelling the in-transit transfer is not the right move — it doesn't return the units to source.
Related
- Inventory overview — the per-location row model
- Adjusting stock and viewing history — for reconciling partial-arrival variance
- Receiving a supplier shipment — different flow, different audit trail
- Adding your first location — and adding subsequent locations to enable transfers
- Locations and multi-store setup — staff location restrictions and access