Account setup
Sign up for Nexpura, pick a plan, and land at your workspace in five minutes.
Quick reference
- Start at /pricing and pick a plan and currency.
- On /signup, choose your subdomain (your store URL will be
your-store.nexpura.com) and create your account. - Stripe Checkout collects card details. Your 14-day trial starts immediately; the first charge runs on day 15 unless you cancel.
- Land at /onboarding, enter your business name and type, then open your workspace at
nexpura.com/<your-slug>/dashboard. - Email confirmation runs in parallel — the link in your inbox verifies your address but the workspace is usable while you wait.
Walkthrough
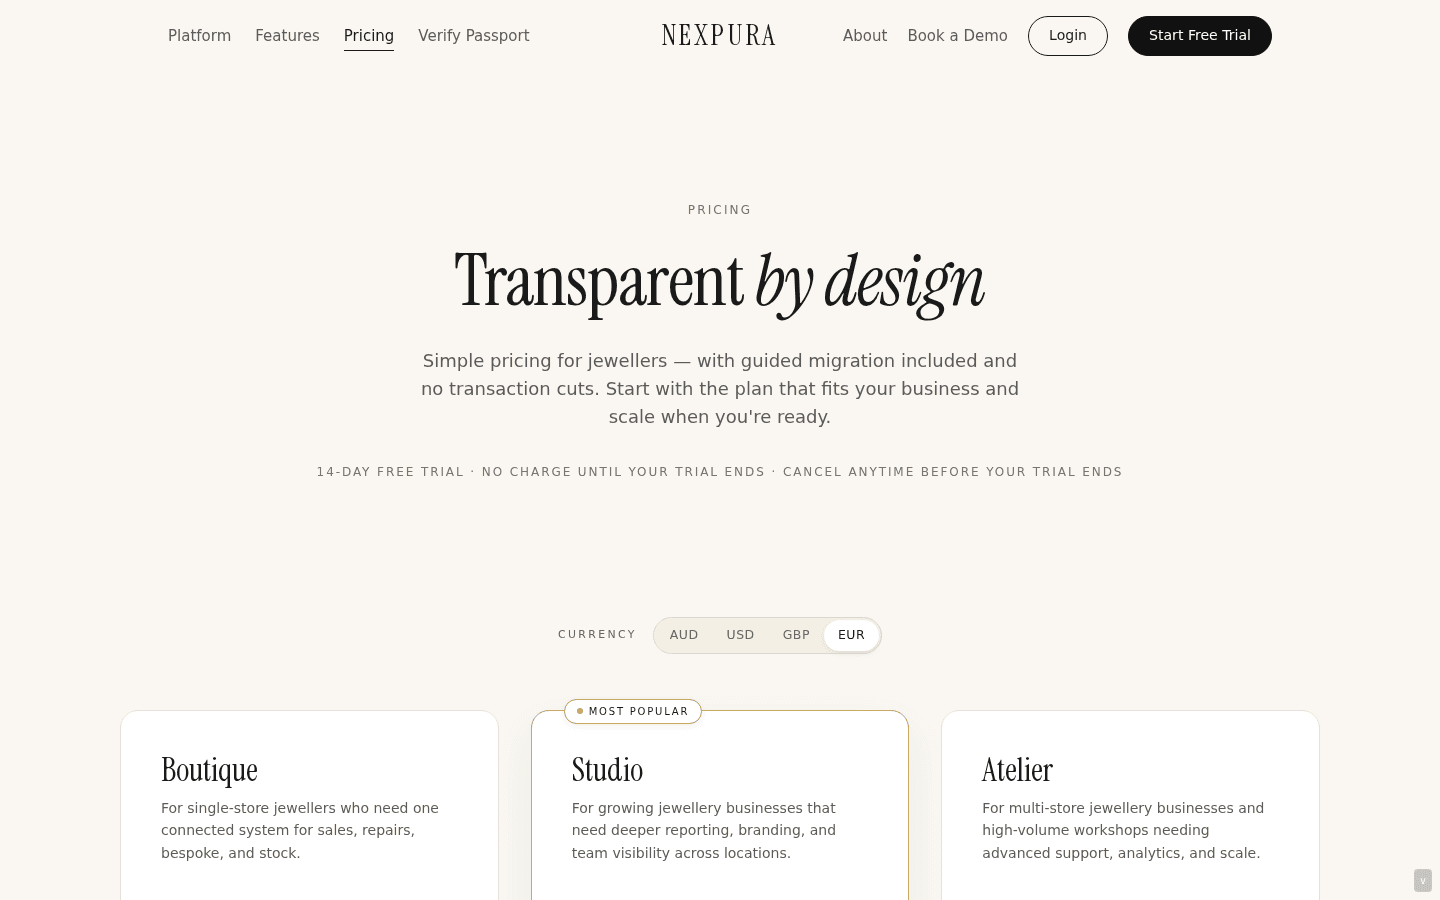
1. Choose your plan and currency
Open /pricing. Three plans sit side by side — Boutique, Studio, and Atelier — with a currency switcher above the cards for AUD, USD, GBP, and EUR. Pick the plan that matches your store, click Start Free Trial, and the choice carries forward into the signup URL.
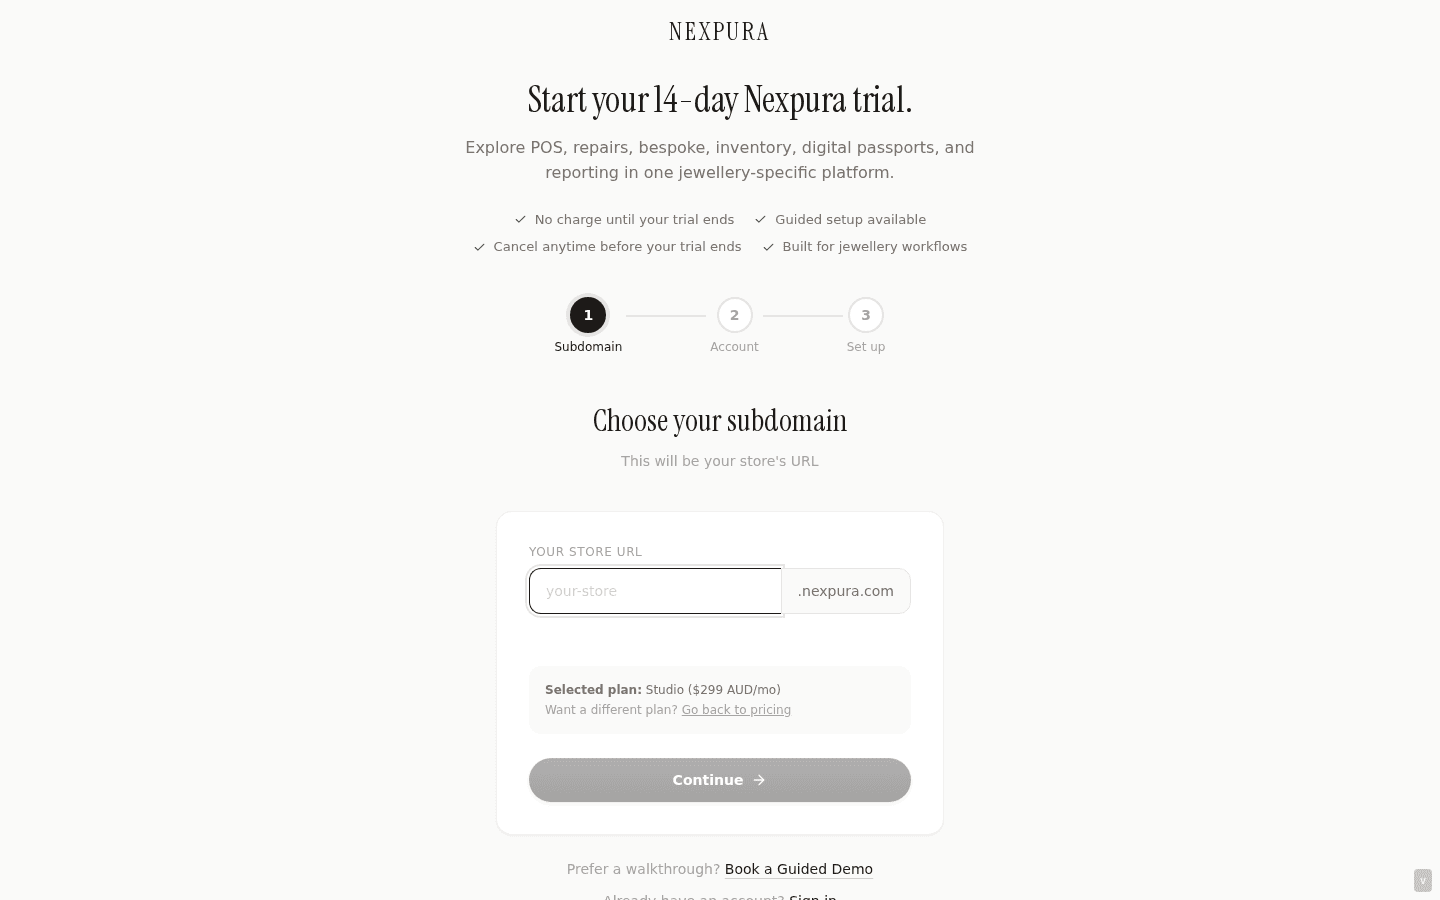
2. Choose your subdomain
Step one of the signup wizard asks for the subdomain that will become your store URL. As you type, Nexpura checks availability — a green checkmark means it's free, red means taken. Allowed characters are lowercase letters, digits, and hyphens; the live check rejects anything else.
The subdomain is the foundation of your workspace URL, so pick carefully. See the troubleshooting section below for what to do if your first choice is already taken.
3. Create your account
Step two collects your name, work email, and a password (twelve characters minimum). The strength meter sits below the password field. The selected plan and pricing show in a confirmation card at the top of the step so you can verify you're paying for what you picked.
Screenshot pending
Step 2 of signup: name, work email, password with the strength meter. Plan summary at the top confirms the choice from /pricing.
4. Stripe Checkout and the 14-day trial
Clicking Start Free Trial hands you to Stripe Checkout to collect card details. The card is required up front — no charge for fourteen days, then the plan price billed automatically on day 15 unless you cancel before then. Stripe handles the payment screen; when it returns, your tenant has been provisioned.
Cancellation lives at /billing inside the workspace. Cancel before day 15 and you won't be charged.
Screenshot pending
Stripe Checkout page collecting card details. The 14-day trial banner sits at the top of the form.
5. Complete onboarding
Stripe sends you back to /onboarding. Two fields: business name and business type (Independent Jeweller, Jewellery Studio, Retail Store, Workshop, Online Store, or Other). Both feed into your tenant record. Click Continue.
Screenshot pending
Onboarding step 1: business name and business type. Plan was already chosen on /pricing, so it isn't re-asked here.
6. Confirm your email and open your workspace
The final onboarding screen shows your workspace URL — the slug you picked, plus .nexpura.com — and an Open My Workspace button. Bookmark the URL; it's the only address you'll need from here on.
A verification email lands in your inbox in parallel. Click the link when you see it. If your email isn't verified yet at this step, the page polls Supabase every four seconds and opens the dashboard automatically once it confirms.
Screenshot pending
Onboarding final screen with the workspace URL pill and Open My Workspace button. Verification email is sent in parallel.
Common questions
Can I change my subdomain later?
Not from the settings UI today. The subdomain is locked the moment your tenant provisions, and there's no self-serve rename — contact us if you need to change it.
Can I switch plans?
Yes — open /billinginside your workspace. Plan changes go through Stripe's billing portal; the price adjusts on your next invoice. There's no penalty for moving up or down, and a plan move never affects your data.
What if I'm not ready to enter a card?
Trial-with-card is the only signup path Nexpura offers today. The card is required to provision your tenant, but no charge runs until day 15. If you cancel before then, you're not billed. If you'd rather not enter a card at all, the alternative is a guided demo — book one at /contact?intent=demo.
What currencies can I pay in?
Stripe Checkout supports AUD, USD, GBP, and EUR — the four currencies on /pricing. Your card is billed in whichever currency you pick on the pricing page; the choice carries through to Stripe and locks for the life of the subscription.
Will I lose access if the email isn't verified by day 15?
No. Email verification and the trial clock are separate. You can use the workspace immediately while the verification email sits unread, and the trial-to-paid transition runs on the Stripe schedule regardless. Verification only affects whether certain transactional emails (password reset, billing receipts) actually reach you.
Troubleshooting
The subdomain I want is taken
Symptom:red X next to the subdomain field with “Subdomain unavailable.” Cause: another tenant already provisioned that slug; the namespace is global across Nexpura. Fix: add a hyphenated suffix (e.g. smithjewellers-sydney), or use your business's shorter trading name. The slug is the only globally-unique identifier; everything else (business name, ABN, etc.) is yours to set freely.
Stripe Checkout fails or the card is declined
Symptom:Stripe shows a red error on the card screen; signup hasn't completed. Cause: issuer block (most common with US cards on AUD subscriptions), insufficient funds, or 3DS challenge failed. Fix:try a different card, or contact your issuer to whitelist the charge. Your email + subdomain are not yet committed at this point — if you abandon Stripe and come back later, you can pick the same subdomain again because no tenant was provisioned. If you've already retried twice and it's still failing, contact us at /contact with the Stripe error code.
The verification email never arrives
Symptom:onboarding page sits on “Waiting for verification” for more than a minute or two. Cause:the email is usually in spam, or your work domain is greylisting Supabase's sender. Fix: click Resend verification email on the onboarding screen, check your spam folder, and whitelist no-reply@nexpura.com with your IT team if you're on a managed work email. The workspace remains accessible while you sort this out — the email is for verification only, not access.
The workspace URL shows a Safari error
Symptom: clicking Open My Workspace shows “Safari can't open this page” or a connection error. Cause: the workspace lives at nexpura.com/<slug>/dashboard, not <slug>.nexpura.com. The pill on the success screen displays the friendly form; the actual route is the path-segment version. Fix: if the click-through fails, navigate directly to nexpura.com/<your-slug>/dashboard. We're tracking the subdomain redirect work separately; the path-based URL is the canonical workspace location today.