Verify Passport — what your customer sees
The public /verify page customers visit to look up the provenance of a piece. Framed from the customer's perspective — issuance date, specifications, ownership state if recorded, repair history, and the issuing jeweller, on a card branded as a passport.
Quick reference
- The customer-facing verification surface lives at /verify (lookup entry) and /verify/[uid] (the passport card itself). Both routes are public — no login needed.
- The lookup accepts three identifier forms: the current UUID v4 public_uid (unenumerable, generated from issuance onwards), the legacy NXP-XXXXXX short form, and a numeric legacy identity number. All three resolve to the same passport card; the legacy forms are being sunsetted but still work for already-issued pieces.
- Customers arrive at the page from a QR sticker on the piece or its certificate, a printed certificate with the UID typed in the verification block, the aftercare email you sent at issuance, or a receipt link. Whichever entry point they use, the result is the same single passport card.
- The passport card renders: a Verified Authentic badge, the passport UID in a coloured chip, the piece title, issuance metadata (issued by, issued on), the primary image if one is attached, structured specifications (metal, stone, ring), provenance fields if you filled them in, current ownership state if recorded, and the event history timeline.
- The page never exposes private customer details — even if you set a current_owner_name on the passport, the page renders only the public fields you chose to surface; private records on your jeweller-side customer profile do not leak through.
What your customer walks through
1. How the customer receives the UID
When you issue a passport (see Issue a passport), the system mints a UID and ties it to the piece. The customer ends up with the UID through one of four channels:
- A QR sticker on the physical piece or its certificate. The QR encodes the/verify/[uid] deep-link. Scanning with any phone camera lands the customer directly on the passport card.
- The printed certificate. A passport certificate prints with the UID in a verification block — the customer (or a future buyer who receives the certificate at resale) can type the UID into /verify manually.
- The aftercare or post-issuance email. If you set up the aftercare automation, the email contains a direct link to the passport card.
- A receipt link. When the piece sold with a passport attached, the digital receipt references the passport URL alongside the line item.
The UID stays on the piece for life — when a piece changes hands at resale, the new owner uses the same UID and you can transfer ownership state on the passport (see Ownership transfer).
2. The lookup landing page
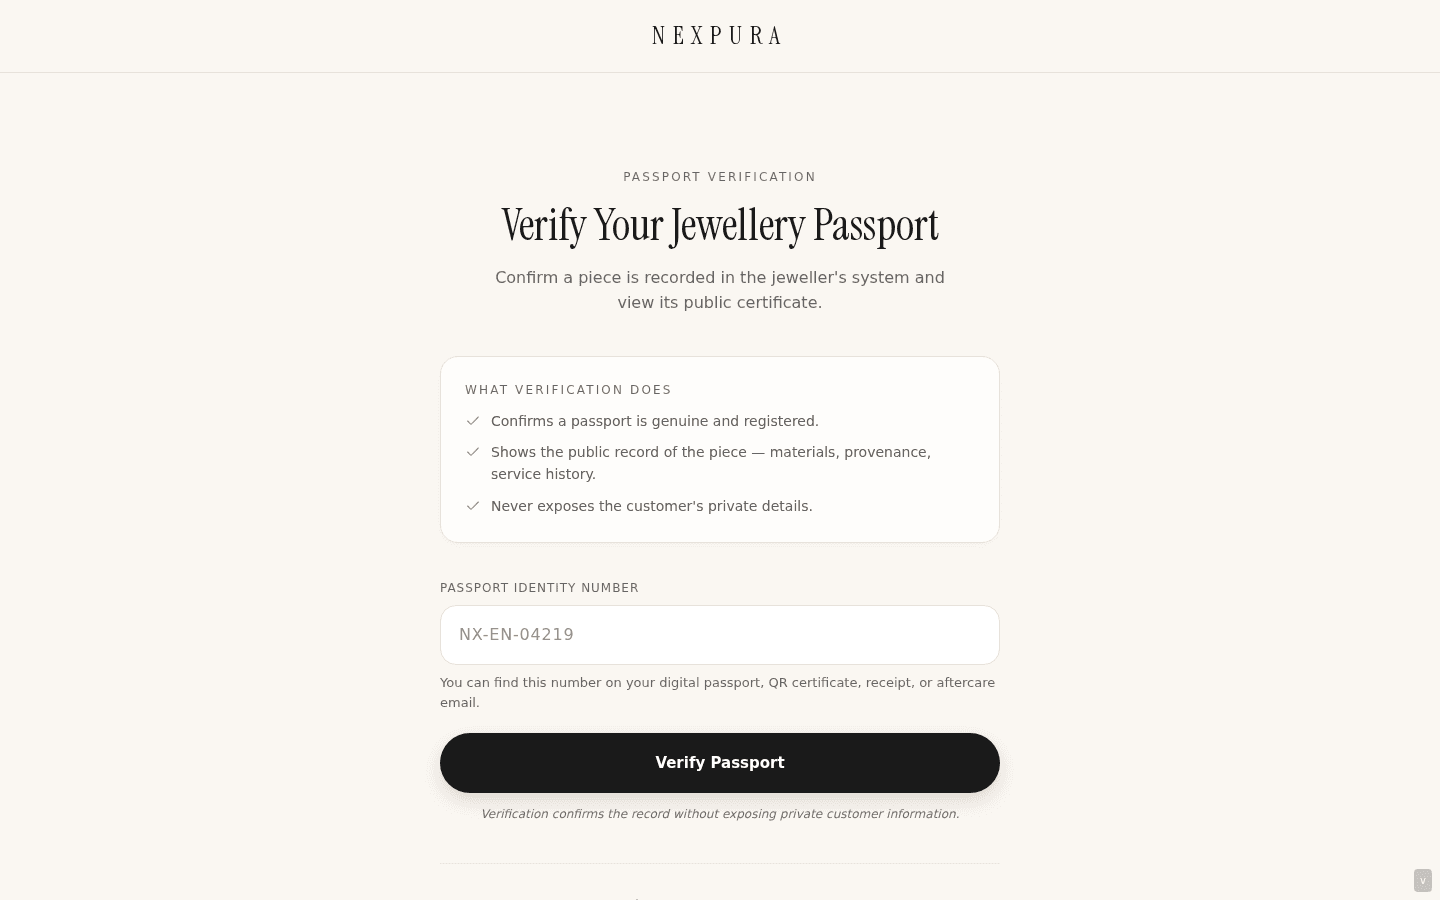
Customers arriving at /verify (rather than via a deep-link or QR) see a centred portal card with the Nexpura wordmark, a passport-verification headline, a short explainer card laying out what verification confirms and what it doesn't expose, an input for the passport identity number, and a Verify Passport button. The placeholder shows the modern identifier shape (NX-EN-04219 is the example) and the helper text explains where the customer can find the number — on the digital passport, QR certificate, receipt, or aftercare email.
On submit, the page navigates to /verify/[uid] where the passport card itself renders. Customers scanning a QR skip this step entirely — the QR deep-links straight into the card.
3. The passport card
The card at /verify/[uid] renders a dark hero strip with the Nexpura wordmark and the “Digital Jewellery Passport” eyebrow, followed by a stack of cards on a soft ivory background. What the customer sees, top to bottom:
- Verified Authentic badge. A green pill at the top of the first card — the at-a-glance confirmation that this is a real passport on Nexpura.
- Passport UID. Rendered in a mint chip beneath the badge — the exact identifier that was looked up, so the customer can confirm they're looking at the right piece.
- Title and jewellery type. The piece name and category, plus the optional description if you filled one in at issuance.
- Issued by. Your business name, sourced from the tenant profile. This is the trust attribution — “this passport was issued by this jeweller” — and the customer's anchor for who originated the record.
- Primary image. If you uploaded a primary image at issuance (or on a later edit), it renders below the issuance card.
- Specifications. A grid of structured fields grouped by metal, stone, and ring. Only the fields you filled in render — empty sections collapse cleanly. The labels are the same vocabulary as the jeweller-side issuance form (metal type / colour / purity / weight; stone type / shape / carat / colour / clarity / origin / certificate; ring size / setting).
- Provenance. Maker name, made-in country, year made — the historical attribution fields. Renders only if you filled in at least one.
- Ownership. Renders only if you set current ownership on the passport — the displayed owner name and the purchase date. This is the light-touch ownership-state surface; private customer records on your customer-of-record do not leak through.
- History timeline. Every event recorded against the passport — issuance, ownership transfers, lost / stolen / recovered reports, repair events, authentication events — in chronological order, each with a coloured indicator dot, the event label, the date in the issuing tenant's timezone, and any optional notes you attached at the time.
- Passport Issued footer. The original issuance date as the bottom-of-page anchor, plus a “Verified by Nexpura” trust ribbon.
![/verify/[uid] passport card — dark hero strip with 'nexpura · Digital Jewellery Passport', the issuance card with Verified Authentic green pill + UID chip + title + 'Issued by [Jeweller name]', primary image card beneath, Specifications card with Metal / Stone / Ring sub-groups, Provenance and Ownership cards, History timeline with three events, 'Passport Issued [date]' footer card.](/_next/image?url=%2Fdocs%2Fscreenshots%2Fcustomer-facing-surfaces%2Fverify-customer-page%2F02-verify-result.png&w=3840&q=75&dpl=dpl_DReA1zQHzQAmETP9QJhFMXEZeR8q)
4. Timezone-correct dates
Every date on the passport card — issuance, purchase date, event timestamps — renders in the issuing tenant's timezone, not the server's UTC. A Sydney jeweller's passport shows dates in Australian time regardless of where the customer opens it; a New York jeweller's shows Eastern. The customer reads the passport in the seller's frame of reference, which keeps the record consistent with the take-in slip and the certificate the customer was handed at issuance.
5. The not-found and rate-limited states
A UID that doesn't resolve — wrong format, a passport that was never issued, a passport that was marked private (is_public = false), a soft-deleted passport — surfaces the same branded not-found card: “Passport Not Found. This passport does not exist or is private. If you believe this is an error, please contact your jeweller.” The card stays on-brand rather than throwing a generic 404.
Rate-limited lookups (per-IP cap on the lookup endpoint to defend against the UID namespace being scraped) return the same not-found card — the customer never sees a rate-limit page directly. This is intentional: the not-found shape doubles as the rate-limit response so scraping doesn't learn anything from the response distinguishing “wrong UID” from “you've been throttled.”
Common questions
Why is the verify page public — wouldn't a login protect the data better?
The verify page is the trust surface for a piece — its job is to be available to anyone who has the UID, because the UID is itself the access token. The current UUID-v4 form is unenumerable (random guessing finds nothing); the per-IP rate limit defends against namespace scraping; private fields on the passport (like an owner-of-record's full customer profile) never load onto the public surface. The login-less design is what makes the passport useful for resale — a future buyer can verify the piece is real without needing to set up an account with the original jeweller.
What does “Verified Authentic” actually mean?
The badge confirms three things at once: the passport exists in Nexpura's system, the row is active (not soft-deleted, not marked private), and it was issued by the jeweller named on the card. It does not certify the gemstones independently or substitute for a gem-lab grading report — the certificate-number field on the passport is the place where you reference an external grading report if one exists. The badge is the record-of-issuance trust mark, not a metallurgical opinion.
Why are there three different identifier forms?
History. Early Nexpura passports used numeric identity numbers; the second iteration moved to theNXP-XXXXXX short form for readability on certificates; the current iteration uses UUID v4 public_uid for unenumerability. All three are valid lookups today — the page audit-logs hits on the legacy forms so the eventual sunset (currently dated 2026-08-05) can be driven by real usage data rather than a guess. New passports issue with the UUID form; legacy passports keep working with their original identifier.
Why does the card show some sections and not others?
The card hides any section where the underlying fields are empty — if you didn't record a maker, the Provenance card doesn't render; if no current owner is set, Ownership doesn't render; if the piece has no metal or stone fields, Specifications collapses. A sparse passport reads as a sparse card rather than a wall of empty labels. The customer sees what was recorded; what wasn't isn't shown as missing.
What happens when ownership transfers — does the old owner's name disappear?
The Ownership card shows only the current owner; previous owners don't render there. The full transfer history appears in the event timeline as “Ownership Transferred” entries, so the passport remains a verifiable chain of custody — you can see the piece changed hands without the card surfacing personal details for previous owners. The detailed history-of-ownership flow is covered on the Ownership transfer page.
Can a passport be made invisible without deleting it?
Yes — flipping is_public to false on the jeweller-side detail page hides the passport from the public lookup without deleting the underlying record. The card then returns not-found for that UID. Useful for a passport that needs to come off the public surface during a dispute or after a piece is reported lost / stolen but the investigation is still ongoing. Flip it back to public to restore the lookup.
Troubleshooting
Customer says the QR code on their certificate shows “Passport Not Found”
Symptom: the customer scans the QR, lands on the verify route, and sees the branded not-found card. Cause: usually one of: the passport was flipped to is_public = false on the detail page (so it's deliberately hidden), the underlying passport row was soft-deleted, or the QR was generated against a UID that no longer matches the row (rare — usually only on re-issuance edge cases). Fix: open the passport from your jeweller-side list, check the is_public flag and the soft-delete state. Restore visibility from the detail page. If the UID itself is wrong, re-print the certificate with the correct UID rather than trying to re-publish the QR.
Customer typed an old NXP-XXXXXX UID and got not-found
Symptom: the customer has a paper certificate from a few years ago with an NXP-XXXXXX identifier; the lookup fails. Cause: legacy NXP- identifiers are still valid lookups today, so a fail here usually means the UID was mistyped (the letters and digits are easy to misread on a printed certificate) or the underlying passport is now non-public. Less commonly, the sunset date may have moved. Fix: cross-check the UID against your jeweller-side passport list; have the customer try the lookup again with the corrected characters. If the row exists but isn't resolving, flip is_public back to true from the detail page.
Passport card shows wrong jeweller name
Symptom:the “Issued by” line on the card shows a different name than your current business name (often an older version, or a default). Cause: the card sources the name from your current tenant profile name field — if you renamed your business, the new name flows through on the next page load, but if the profile name is empty the card falls back to a default. Fix: open /settings and update the tenant's display name. The passport card reflects the new name immediately on the customer's next visit.
Dates on the passport look off by a day
Symptom: issuance or event dates appear shifted by a day from what the take-in slip says. Cause: the tenant timezone on your profile is unset or wrong — the page falls back to UTC, which can read as a day off for stores in eastern Australia and Asia. Fix: set the tenant timezone in /settings to your local zone (Australia/Sydney, Europe/London, America/New_York, etc.). The passport card renders all dates against that zone on the next visit.
Related
- Issue a passport — the jeweller-side issuance flow that produces the UID
- Ownership transfer — how a piece's current ownership state updates on the passport
- Repair tracking — the other customer-facing public surface
- Your storefront on Nexpura — the catalogue surface where passport-attached pieces appear