WooCommerce integration
REST API credentials connection for WordPress / WooCommerce stores. Two-way product / customer / order sync, optional webhook receivers for real-time order events, and the same kind of reconciliation behaviour as Shopify — keeping the WooCommerce catalog and the Nexpura inventory ledger in agreement.
Quick reference
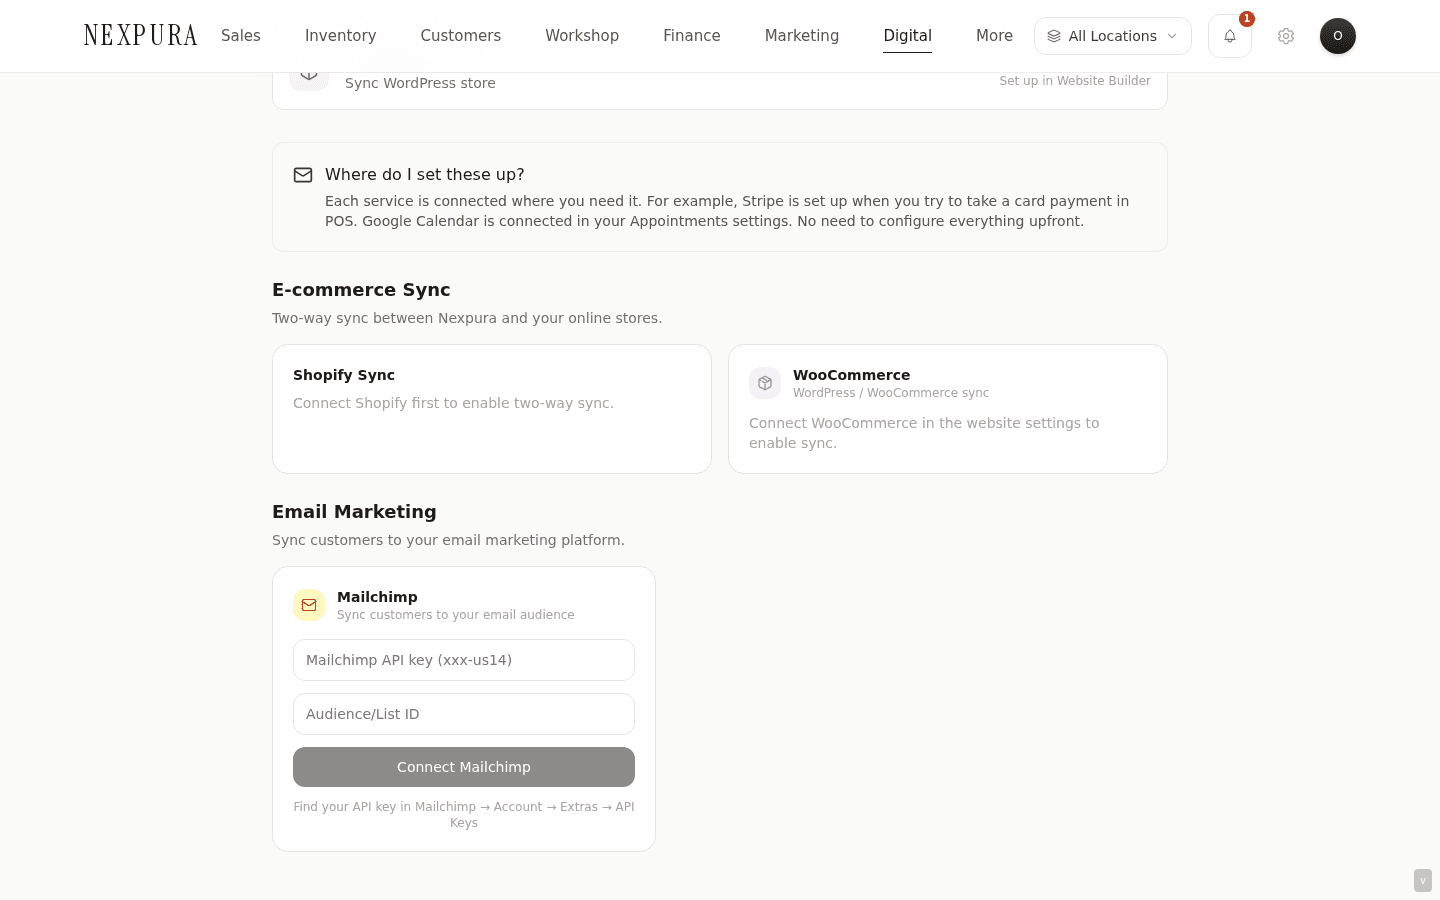
- Connection happens from /website/connect — the WooCommerce card sits next to the Shopify card, same reasoning (it's the e-commerce surface the storefront depends on).
- REST API credentials, not OAuth. You generate a Consumer Key and Consumer Secret in your WordPress admin (WooCommerce → Settings → Advanced → REST API → Add Key), paste both into the Nexpura connect form along with your store URL, and Nexpura verifies the credentials by calling
/wp-json/wc/v3/system_statusbefore persisting the row. - Read / write permission on the API key controls what Nexpura can do. Read/Write is required for two-way sync; Read alone limits Nexpura to imports only.
- Same Two-Way Sync panel shape as Shopify. Import buttons for products, customers, orders; export button for inventory.
- Optional webhook receivers — Nexpura can register WordPress webhooks at
/api/integrations/woocommerce/webhookfor order-created and order-updated events, so a sale on the WordPress side lands in Nexpura within seconds rather than waiting for the next manual sync. Setup runs from the integration panel after the initial connection. - Same permission gate as the other integrations — integration manager for connect / disconnect / sync.
Connecting WooCommerce
1. Generate API credentials in WordPress
Open your WordPress admin. Navigate to WooCommerce → Settings → Advanced → REST API and click Add Key. Give the key a description (“Nexpura” is fine), choose a user with shop-manager or admin permissions, and set the permission level to Read/Write. Click Generate API key.
WordPress shows the Consumer Key and Consumer Secret once on the next screen. Copy both — the secret in particular is shown only at generation time; you can't retrieve it later. If you misplace the secret, regenerate the key.
Screenshot pending
The WordPress admin's WooCommerce REST API screen with the freshly generated Consumer Key and Consumer Secret visible. The 'copy' icons next to each value are the easiest way to grab them — the secret won't be shown again.
2. Paste the credentials into Nexpura
Go to /website/connect and click Connect WooCommerce. The form accepts three fields:
- Store URL — the full URL of your WordPress site, e.g.
https://acme-jewellers.com. With or without the trailing slash; Nexpura normalises both shapes. - Consumer Key — pasted from the WordPress REST API screen.
- Consumer Secret — pasted from the same screen.
Click Connect. Nexpura calls <store-url>/wp-json/wc/v3/system_status with the credentials to verify they work. On success, the integration row is written and you land back on /website/connect with a green confirmation.
3. Set up webhook receivers (optional, but recommended)
Real-time updates need WordPress to tell Nexpura when something changes. From the WooCommerce sync panel on /integrations, click Set up webhooks. The button posts to /api/integrations/woocommerce/setup-webhooks which uses your stored credentials to register two webhooks in WordPress pointing at Nexpura's receiver URL — one for order.created, one for order.updated. The receiver verifies the HMAC signature WordPress sends with each webhook before processing the payload.
Without the webhooks, the integration still works — you just rely on the manual sync buttons or the scheduled sync to bring new orders across. The webhooks tighten the loop from “within a day” to “ within seconds.”
Running a sync
1. Choose a direction
The WooCommerce panel on /integrations mirrors the Shopify panel — three import buttons (products, customers, orders), one export button (push inventory). The implementation calls runFullWooSync on the API key's permitted endpoints; the matcher uses SKU for products and email for customers, same as Shopify.
2. Click and wait
Sync runs synchronously while you wait. The spinner replaces the button icon; the other buttons disable. A banner above the buttons summarises the outcome on completion — synced count, skipped count, first error message on failure.
Repeated runs are fast — the matcher recognises records already in agreement and skips them. Most of the cost is the API round-trips to WordPress; for stores with large catalogs, the initial sync can take a couple of minutes (you'll see the spinner stay active).
3. Webhook-driven updates land continuously
Once webhooks are registered (step 3 above), most order activity lands in Nexpura without anyone clicking sync. The receiver writes the order into /sales on receipt, runs the same matcher logic the manual import uses, and decrements inventory through stock_movements if the order's products are SKU-matched.
If a webhook fails to verify (HMAC mismatch — usually because the WordPress-side secret was rotated and the Nexpura-stored copy hasn't been updated) the receiver rejects the payload with a 401. Re-registering the webhooks from the panel refreshes the secret.
Common questions
Should I use Shopify or WooCommerce?
Whatever you already have is the right answer. Nexpura doesn't prefer one over the other — both integrations are first-class, both expose the same sync directions, both feed the same Nexpura storefront with the same product data. If you're evaluating from scratch, the question is about the wider e-commerce stack you want (Shopify is a hosted SaaS with everything bundled; WooCommerce is a WordPress plugin that gives you more control over theming and hosting at the cost of running the WordPress side yourself) — not about Nexpura.
Stores running both at once are uncommon. The integrations table allows it (one row per type per tenant), but the practical question of which one the storefront points to has to be answered, so most stores pick one e-commerce platform and stick with it.
Why API keys rather than OAuth?
WooCommerce's OAuth flow is less standardised than Shopify's — it depends on the WordPress site having particular plugins installed and the merchant going through a multi-step authorisation. The REST API key path is universally available on any modern WooCommerce install (it's a core feature, not a plugin), it's a one-time copy-paste rather than an interactive flow, and the credentials are revocable from the same WordPress screen they were generated on.
The cost is that API key handling is the merchant's responsibility — generating, copying, optionally rotating. Nexpura encrypts the credentials in the row config (same AES-GCM the OAuth tokens use) so the secret isn't exposed at rest, but the create / revoke ceremony lives on the WordPress side.
What if my WordPress site is behind Basic Auth or a firewall?
The Nexpura side calls your WordPress URL from the Nexpura servers, so the URL has to be reachable from the public internet. Sites behind Basic Auth, a private VPN, or an allow-list firewall block the connection.
Fix: either expose the REST API endpoint publicly (it's already credentials-gated by the Consumer Key / Consumer Secret), or add Nexpura's outbound IPs to your firewall allow-list. Contact us if you need the IP block and we'll send the current range.
The connection succeeded but Import Products returned an error
Most common cause: the API key has Read permission but the import path needs Read/Write for some endpoints (the import surface still needs write permission for the meta-fields it sets on imported rows, e.g. a “synced from Nexpura” flag).
Fix: open the WordPress REST API screen, edit the Nexpura key, change Permissions to Read/Write, save. The same Consumer Key / Consumer Secret continue to work — only the permission level changes. Re-run Import Products on the Nexpura side; it should succeed.
Troubleshooting
“Invalid API credentials” on connect
Symptom:the connect form returns “Invalid API credentials” after you paste the Consumer Key / Consumer Secret. Cause: the verify call to /wp-json/wc/v3/system_status returned 401. Most often: a stray space pasted with the key or secret, or the key was generated with Read permission but the connect-step verify needs to read system_status which on some WordPress configurations requires more. Fix: regenerate the key with Read/Write permission and re-paste, checking carefully that no whitespace got pulled in with the value.
“Cannot reach store URL”
Symptom: the connect form returns a network error before getting to the credentials check. Cause:the URL doesn't resolve from Nexpura's servers — typo in the domain, a site that's currently down, or the WordPress host blocking the request. Fix: double-check the URL works in a browser (<your-url>/wp-json/wc/v3/system_status should prompt for auth, not 404). If the URL works from your browser but not from Nexpura, your host is filtering by source IP — see the firewall question above.
Webhook setup says “already registered”
Symptom:you clicked Set up webhooks and the response says the webhooks are already registered, but new orders still aren't showing up in Nexpura automatically. Cause: old webhooks from a prior connect attempt are still in WordPress, pointing at a stale Nexpura URL or using an old secret. Fix: open the WordPress admin WooCommerce → Settings → Advanced → Webhooks tab, delete any webhooks with nexpura.com in the URL, then click Set up webhooks again on the Nexpura panel. The fresh webhooks register with the current URL and current HMAC secret.
Orders arrive in Nexpura but inventory doesn't decrement
Symptom: a WooCommerce order shows up in /sales but the inventory count for the sold products didn't drop. Cause:the products on the WooCommerce side aren't SKU-matched to the Nexpura inventory rows — the order import succeeded (sale row created) but the inventory decrement is conditional on the matcher finding the inventory row to decrement. Fix:run Import Products on the sync panel — if your WooCommerce products don't already have SKUs that match Nexpura inventory, add the SKUs in WooCommerce, import them, and the inventory linkage for future orders will work. For the already-landed orders, run an Adjust Stock on the affected inventory rows with reason Sold and a note referencing the order number.
The integration status flipped to “error” overnight
Symptom: the WooCommerce row on /integrations shows a red error badge. Cause: usually a credentials issue — the API key was revoked or regenerated in WordPress, or the WordPress site was migrated and the URL changed. Fix: disconnect WooCommerce from /settings/integrations, then go back through the connect flow with fresh credentials. The fresh connection picks up the same integration row and updates it; sync history before the credentials break is preserved.
Related
- Your storefront on Nexpura — how the connected WooCommerce catalog flows through to the customer-facing storefront surface
- Shopify integration — the OAuth parallel for hosted Shopify stores
- Integrations & data overview — the data model and credential encryption that this integration sits inside
- Inventory overview — the inventory model that the WooCommerce sync reads from and writes to